The Invisible Trick Behind Those Giant Chunky Balloon Sleeves
 By Fernando Santos
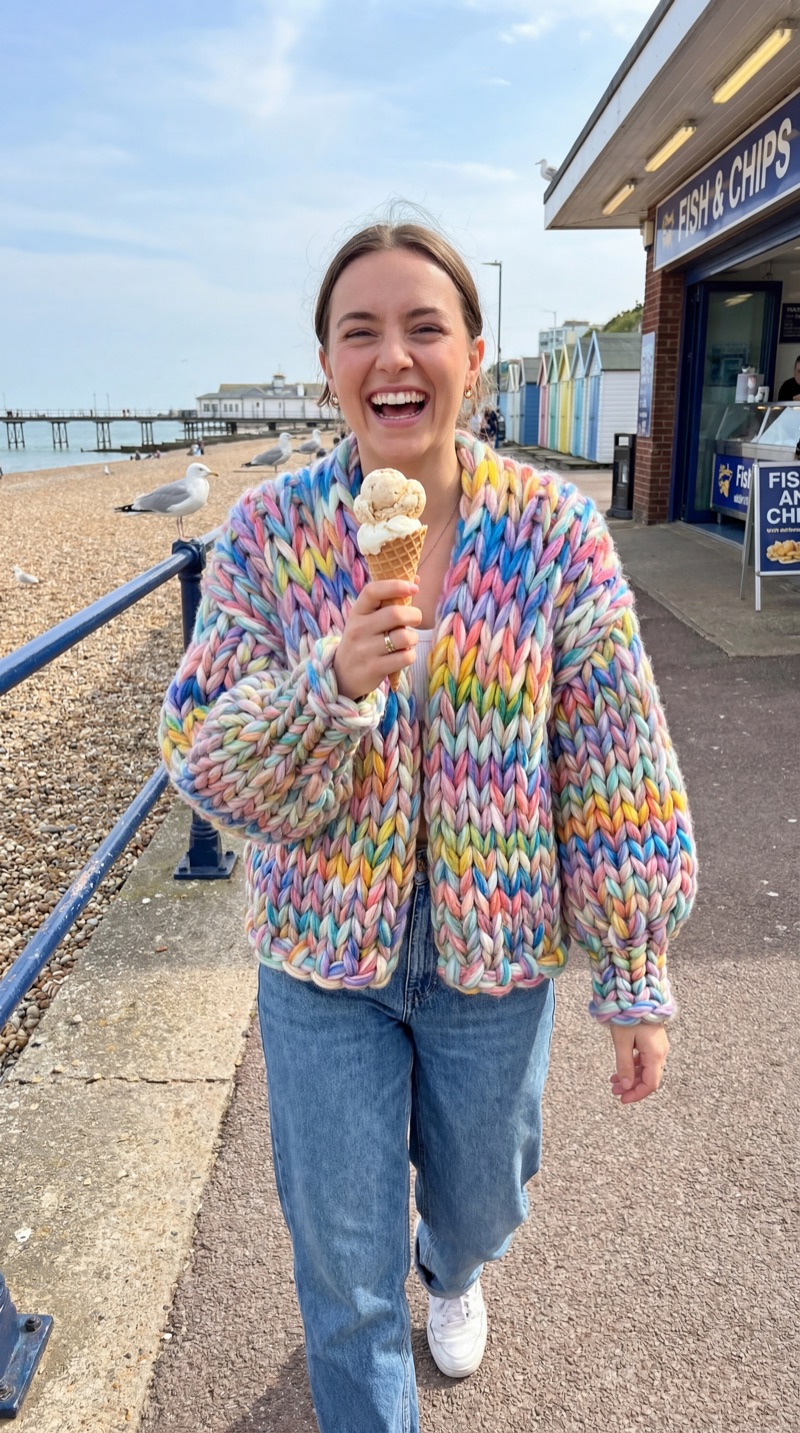
A balloon sleeve is the most satisfying part of a chunky cardigan to knit: that proud puff above the wrist that says someone made this. I knit mine directly onto the cardigan, in the round, with no separate sleeve to sew on afterwards.
Watch the balloon sleeve come together.
These are finger-knit, chunky balloon sleeves, and the clever bit is that there's no second piece to make. You don't knit a sleeve flat and seam it on. You grow it straight out of the armhole, working round and round until it's all one continuous piece. Once you've seen it click into place, it's hard to go back to seaming.
No separate sleeve and no seam: it grows straight out of the cardigan.
Step 1 · Pick up stitches around the armhole
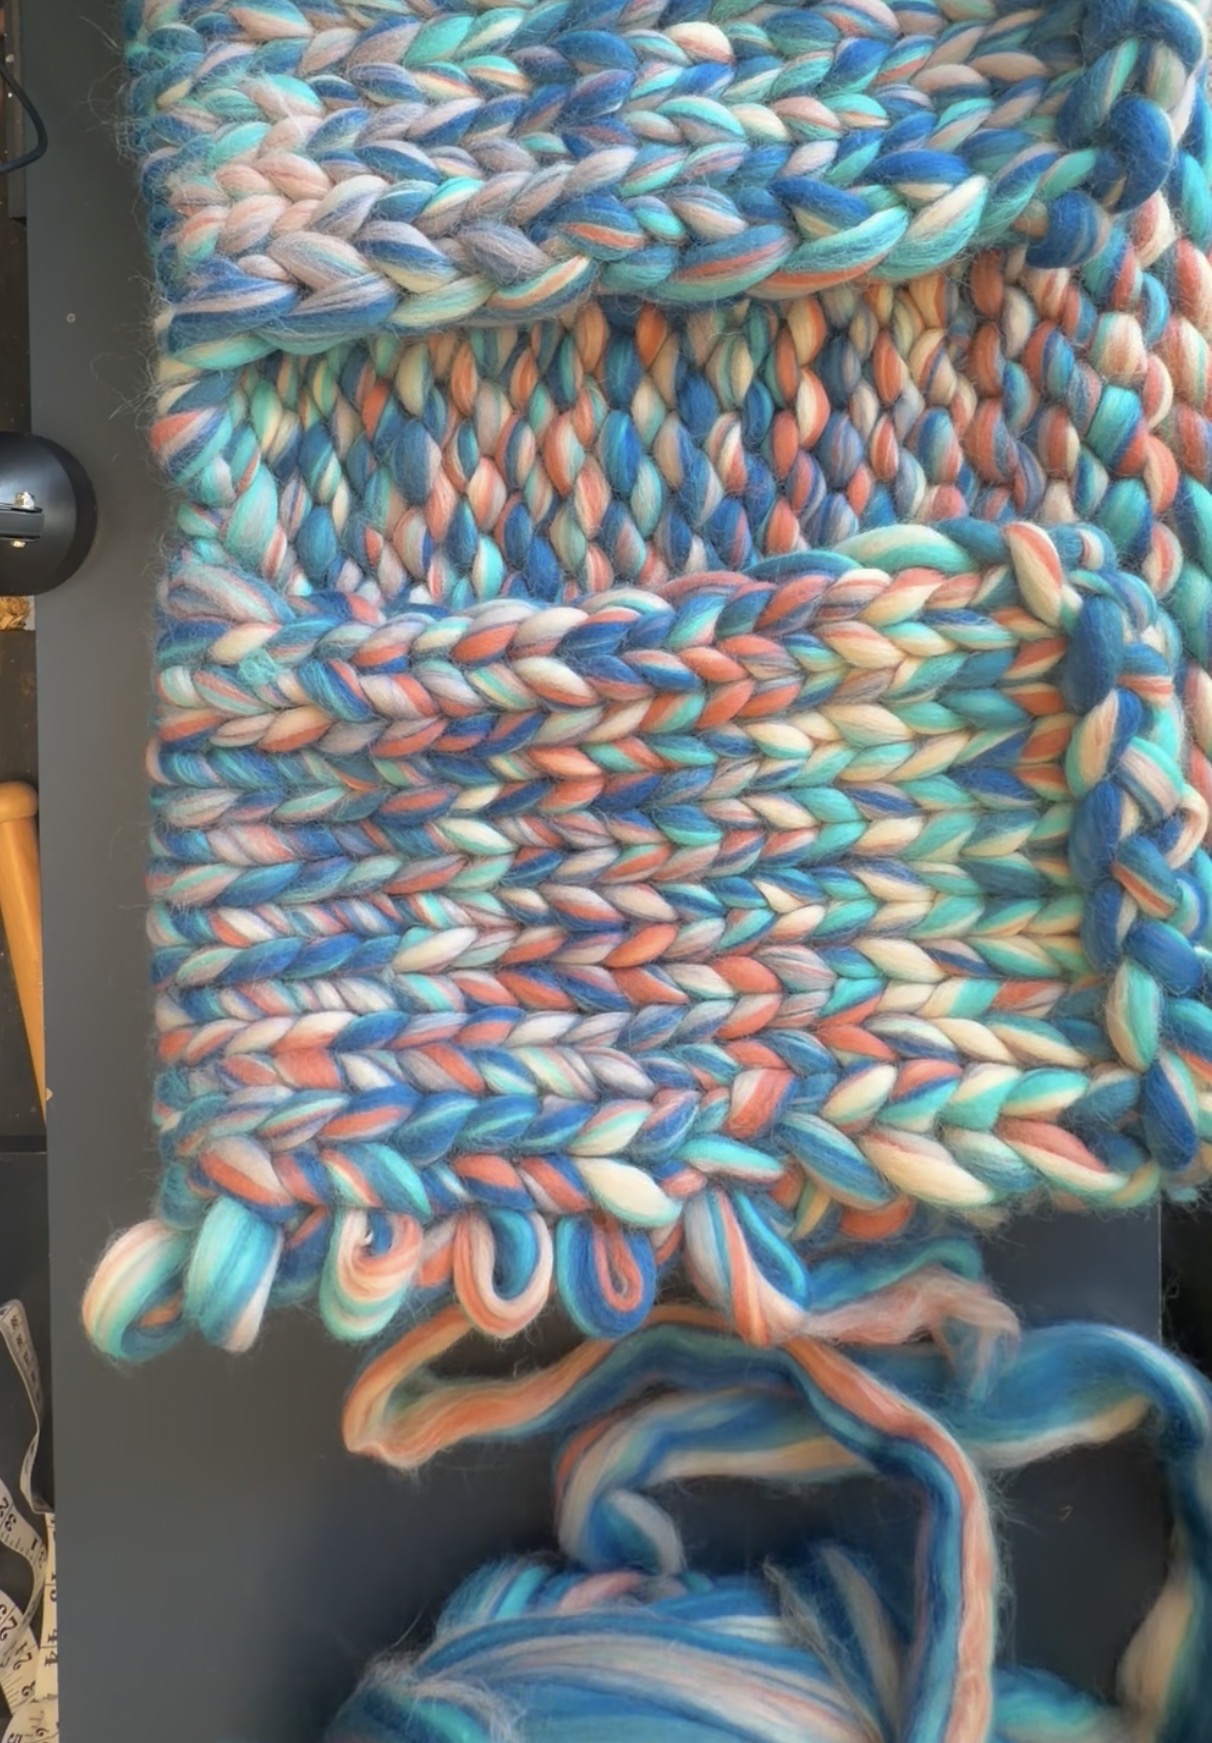
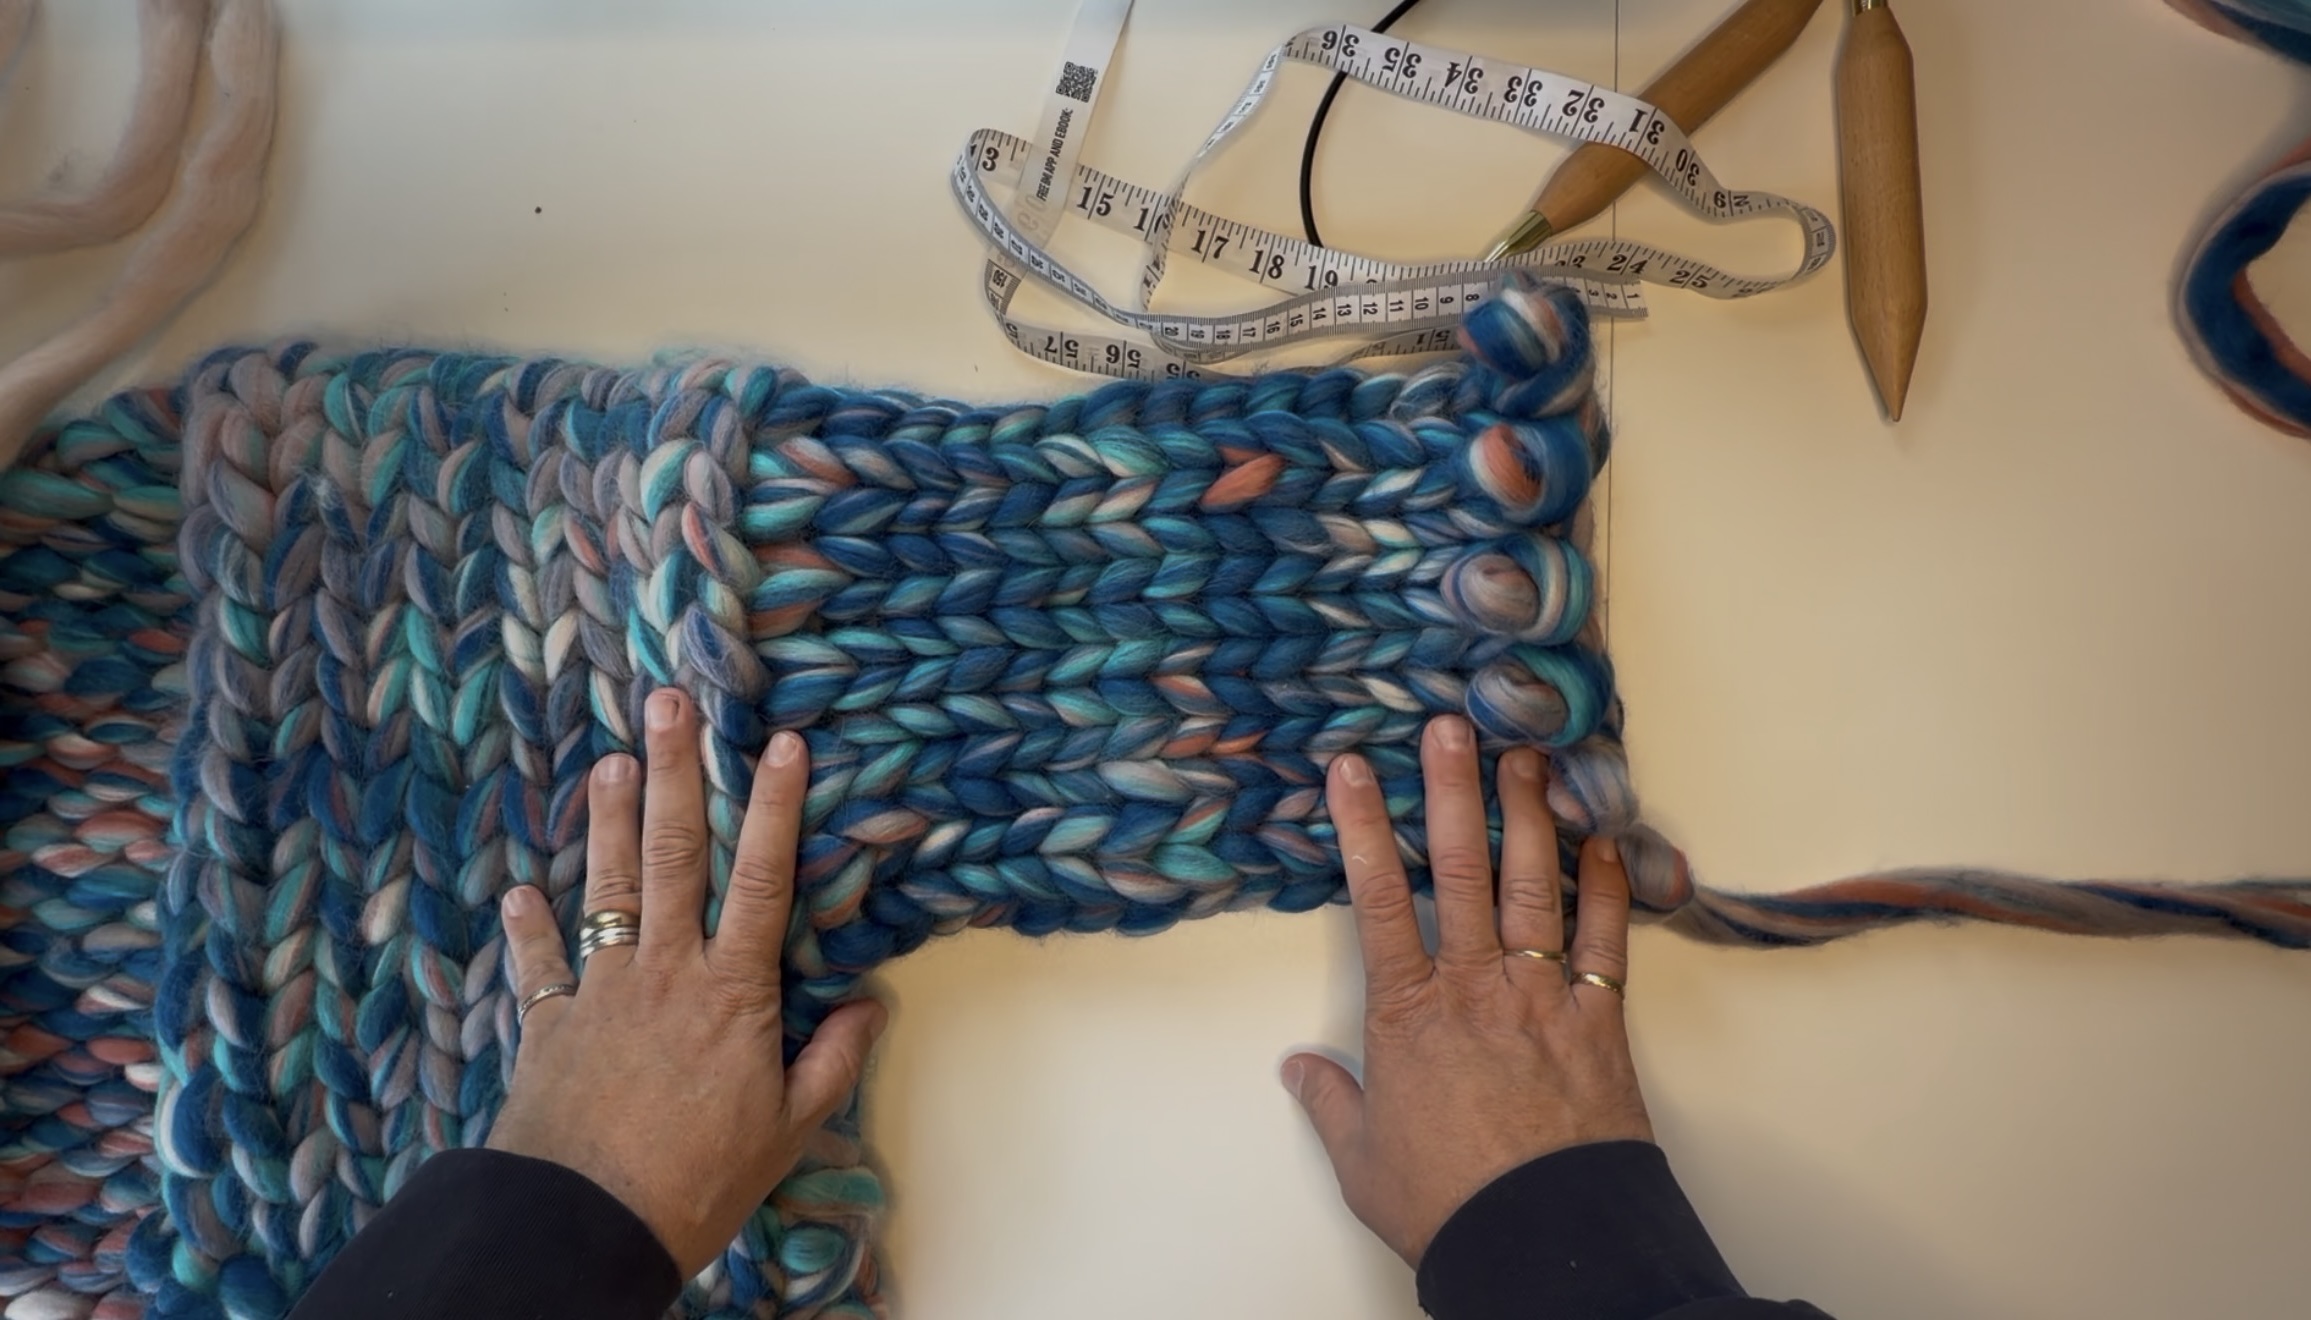
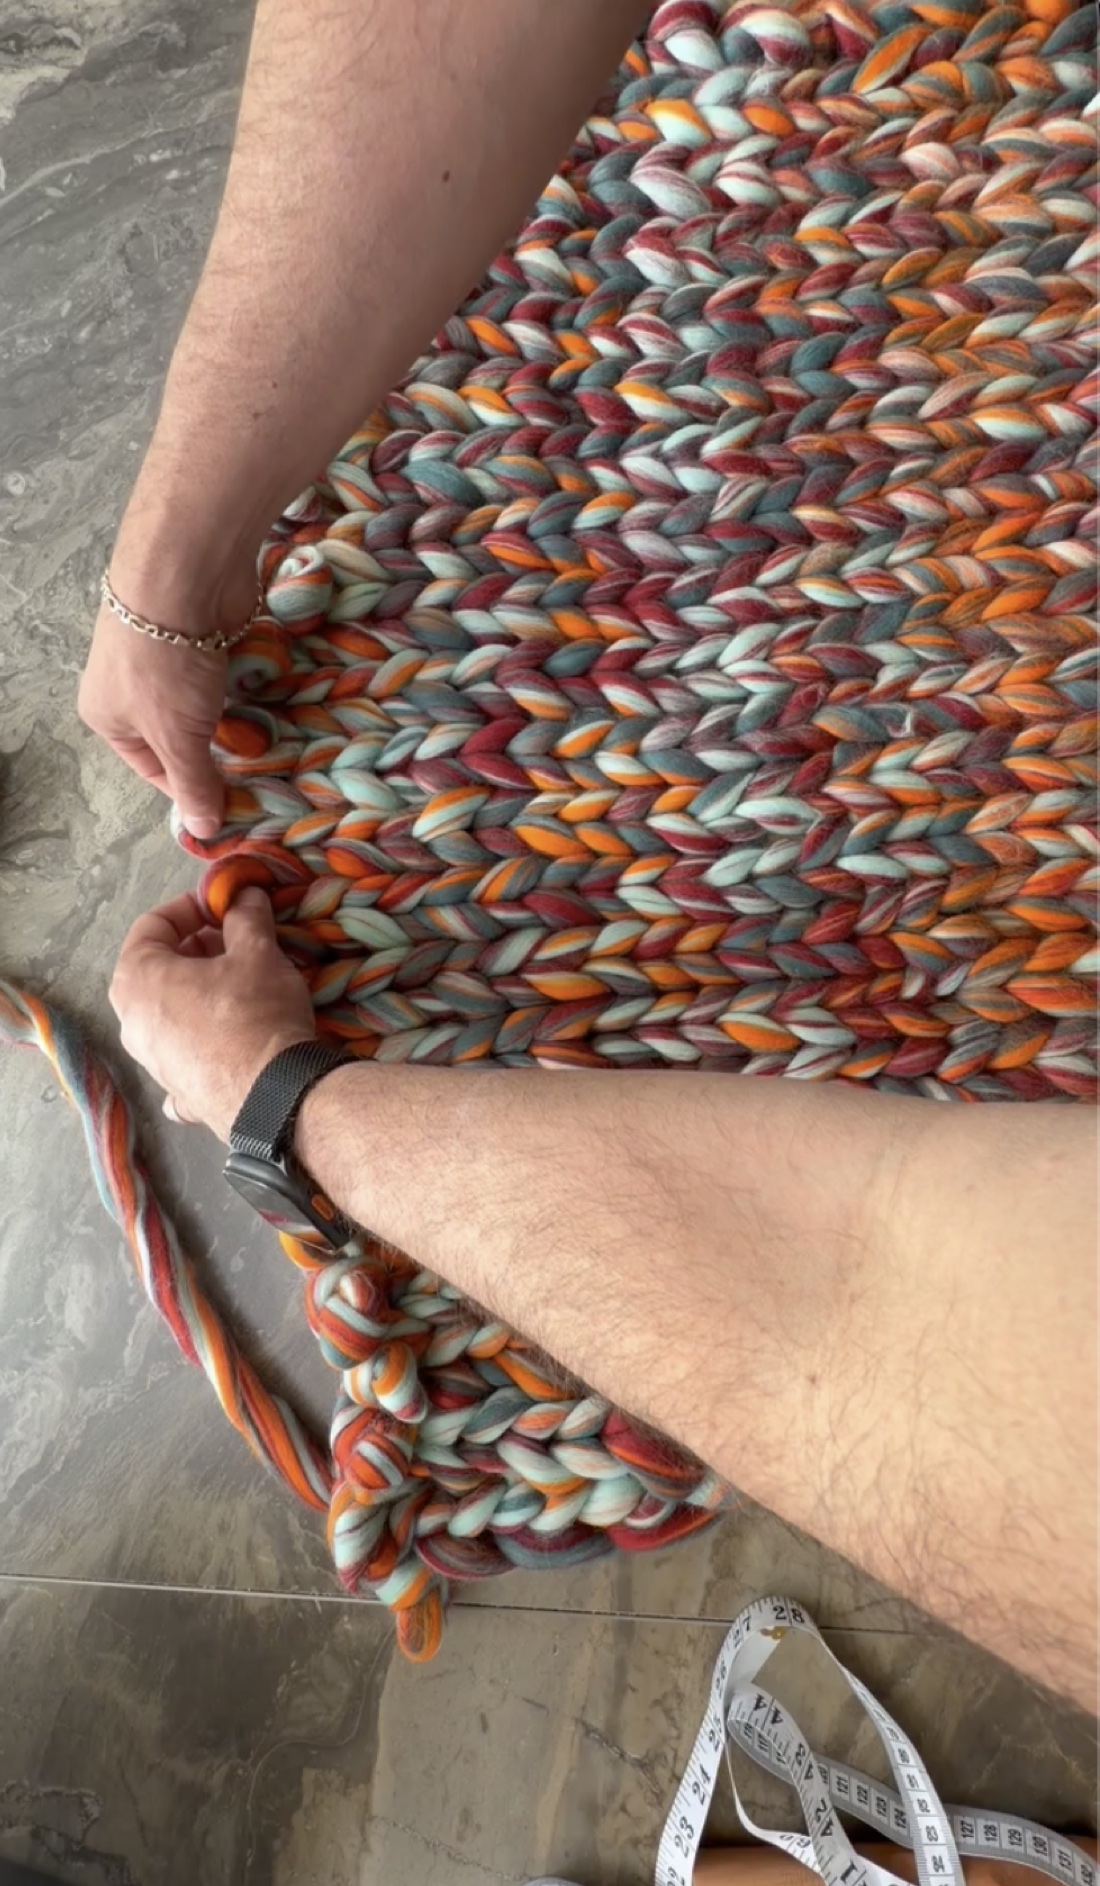
Start at the armhole opening. Running all the way around its edge is a chain of stitches, the same neat little V-shaped loops you see along the edge of any knitted piece. Your job is to pick up a loop into every one of those chain stitches, working steadily around the whole opening until you arrive back where you began.
Take your time and keep the spacing even. Skip too many and you'll get a gappy, baggy join; cram in too many and the top of the sleeve puckers. A loop in each chain stitch, all the way round, gives you a tidy ring of live stitches to build from, and that ring is the foundation the sleeve grows on.
Step 2 · Grow the sleeve in the round
Now you simply keep going, round and round. Because you're working in a circle rather than back and forth in flat rows, there's no seam line down the arm. The sleeve grows as one smooth tube straight off the body, which is what makes the finished cardigan look like it was made in a single piece.
At some point you'll run out of wool and need to add a new length. Do not tie a knot. Instead, lay the old end and the new end together and felt them in with a felting needle. A quick jab-jab tangles the fibres until they grip each other and become one. Zero knots equals zero holes, and nothing to dig into your arm later.
This is also how you secure every loose tail at the end. Chunky roving is far too thick to thread through a tapestry or darning needle, so a felting needle is always the tool for joining and weaving on these cardigans, needle-knit or finger-knit alike. If that part is new to you, I walk through it slowly in how to weave in ends on a chunky knit.
A quick, honest word of caution
Picking up stitches and working in the round like this gives you the cleanest finish in chunky knitting, but it is not a beginner technique. Reading the armhole chain, keeping the pick-up even and managing a tube on the needles all take a bit of practice, so please proceed with caution. I'd call this an intermediate method.
If this is your very first cardigan, there's no shame in starting somewhere gentler and coming back to balloon sleeves once your hands know the basic stitch. Have a look at whether a complete beginner can knit a chunky cardigan first; big stitches are wonderfully forgiving, and they're the right place to build the confidence this step needs.
Step 3 · Decrease at the cuff to cinch the balloon
Once the tube is the length you want, it's time to create the balloon shape. As you near the cuff, you start to decrease, knitting two stitches together (k2tog) around the round to pull the fabric in. Each decrease removes a stitch, so the circle gets smaller and smaller.
That gathering is exactly what gives you the balloon: the sleeve stays full and puffy higher up, then draws in towards the wrist so it tapers to a snug, gathered cuff. Work the decreases around evenly so the cinch sits cleanly all the way round rather than bunching on one side.
Step 4 · Cast off
When the cuff is gathered in to the width you like, cast off (bind off) to finish the edge. Then weave that last tail in with your felting needle, the same way you joined your wool earlier. That's a complete balloon sleeve, grown straight from the cardigan with no seam in sight.
Do the same on the other armhole, and you've got a finished pair. There really is something special about a sleeve that started as a row of picked-up loops and ended as that proud, puffed shape.
Want a go at one but not sure where to begin?
Save this one for the day you reach the sleeves. When that day comes, make something Gigante.
Keep reading
The Six Steps to Knitting a Chunky Cardigan
Start to finish, with the video tutorial to knit along with.
Watch & read →