The Six Steps to Knitting a Chunky Cardigan (Only Two Are Hard)
 By Fernando Santos
A cardigan this big looks simple: one giant stitch, soft wool, done over a weekend. And the stitch itself genuinely is simple. But I won't pretend it's nothing: at this scale every stitch is on show, and the way the piece is built is what makes it hang like a real garment rather than a craft project. Get those two things right and the result is special. Every step is below, in plain words.
I'll be honest up front: this is the work of a few cosy evenings, not a few minutes. None of the steps are complicated to follow, but a couple of them reward real care, and I'll tell you exactly which, because that's where a great cardigan is won or lost.
Prefer to watch? The make is here in six short clips; follow along, and the written steps are right below.
1. Gather what you need
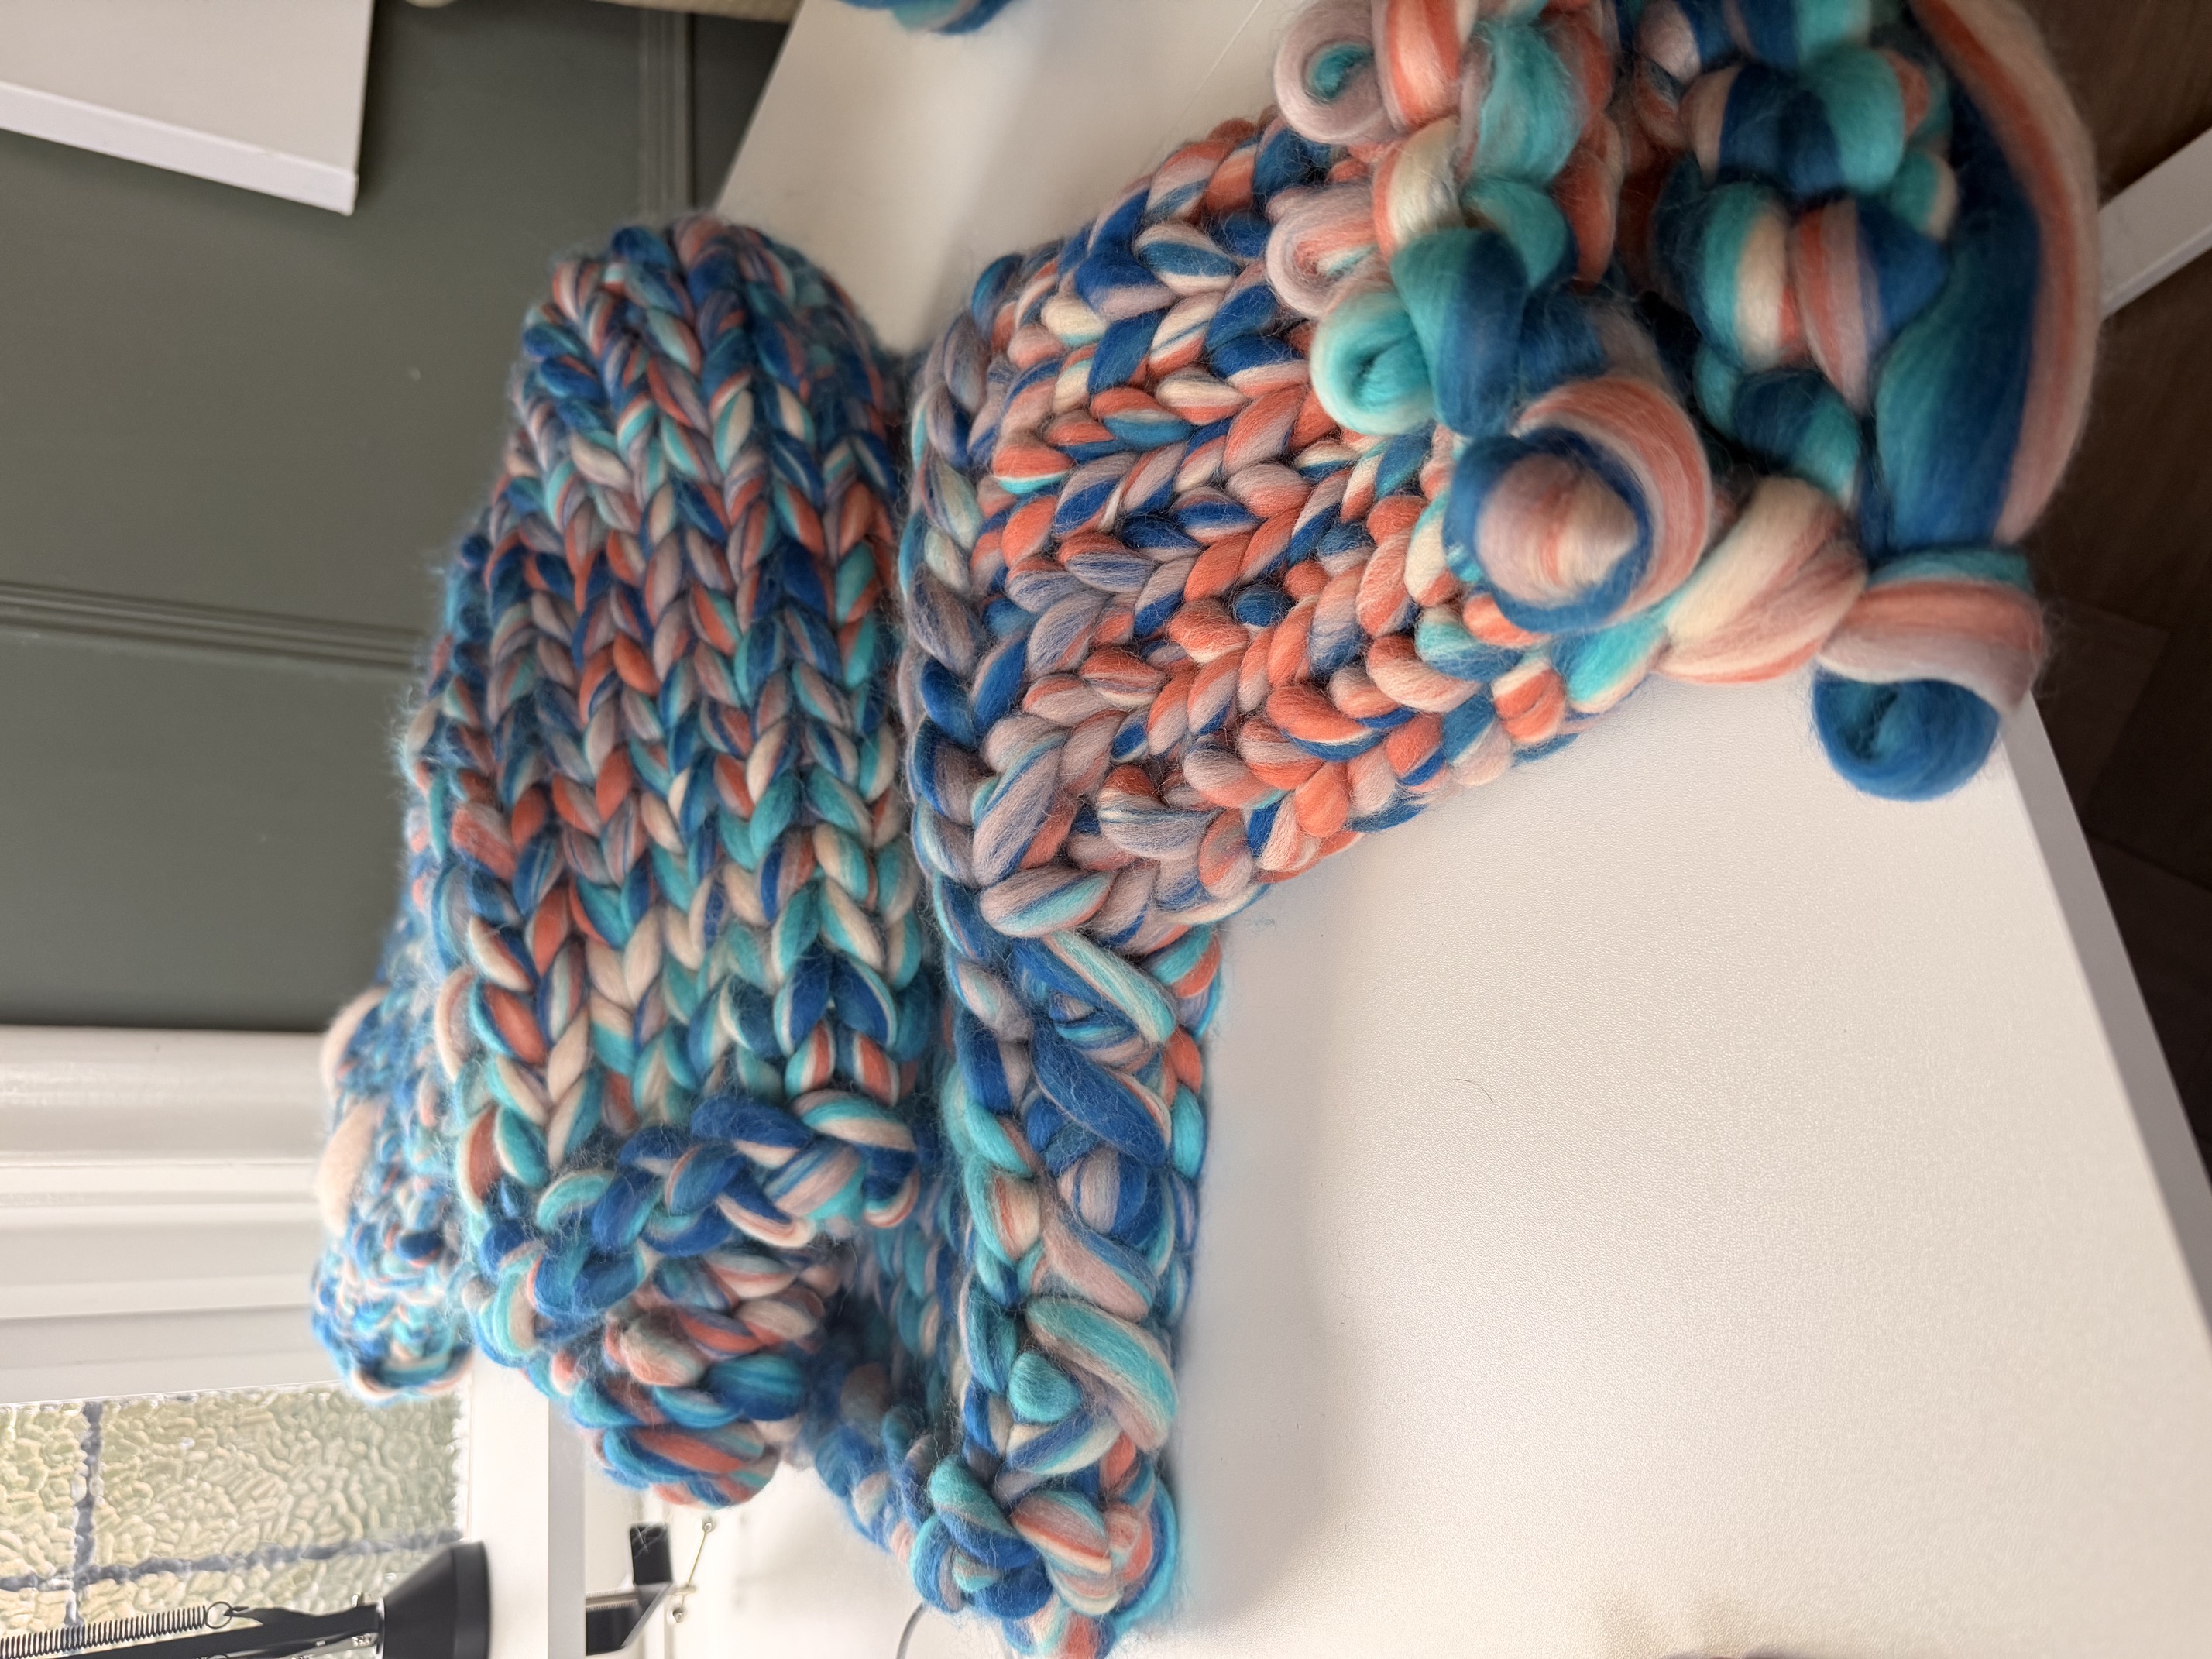
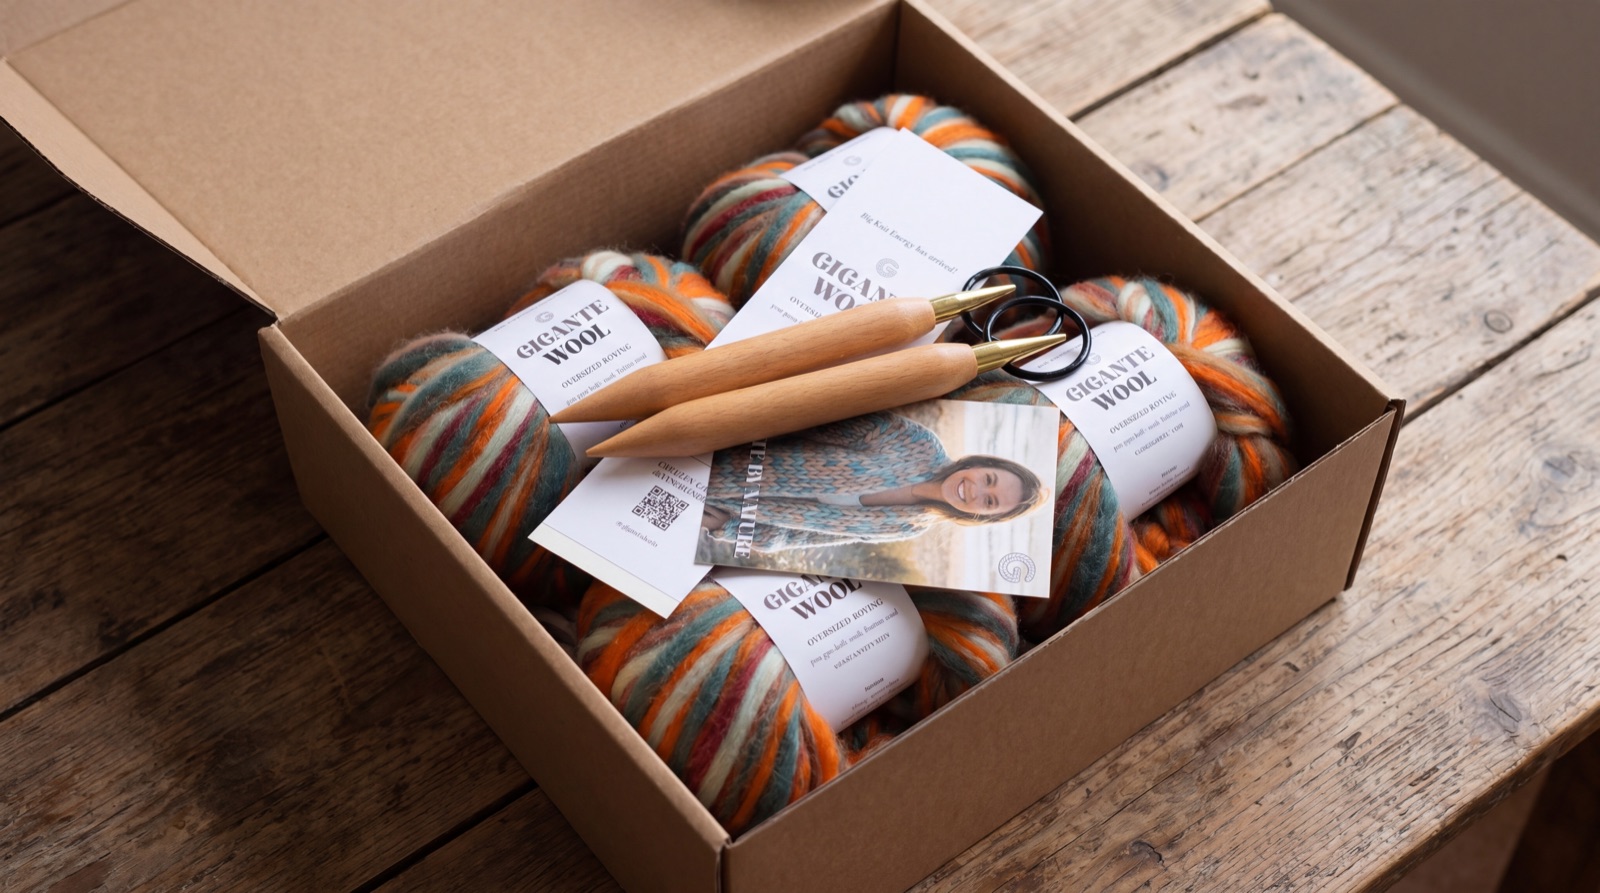
You don't need much, and there's nothing fiddly on the list:
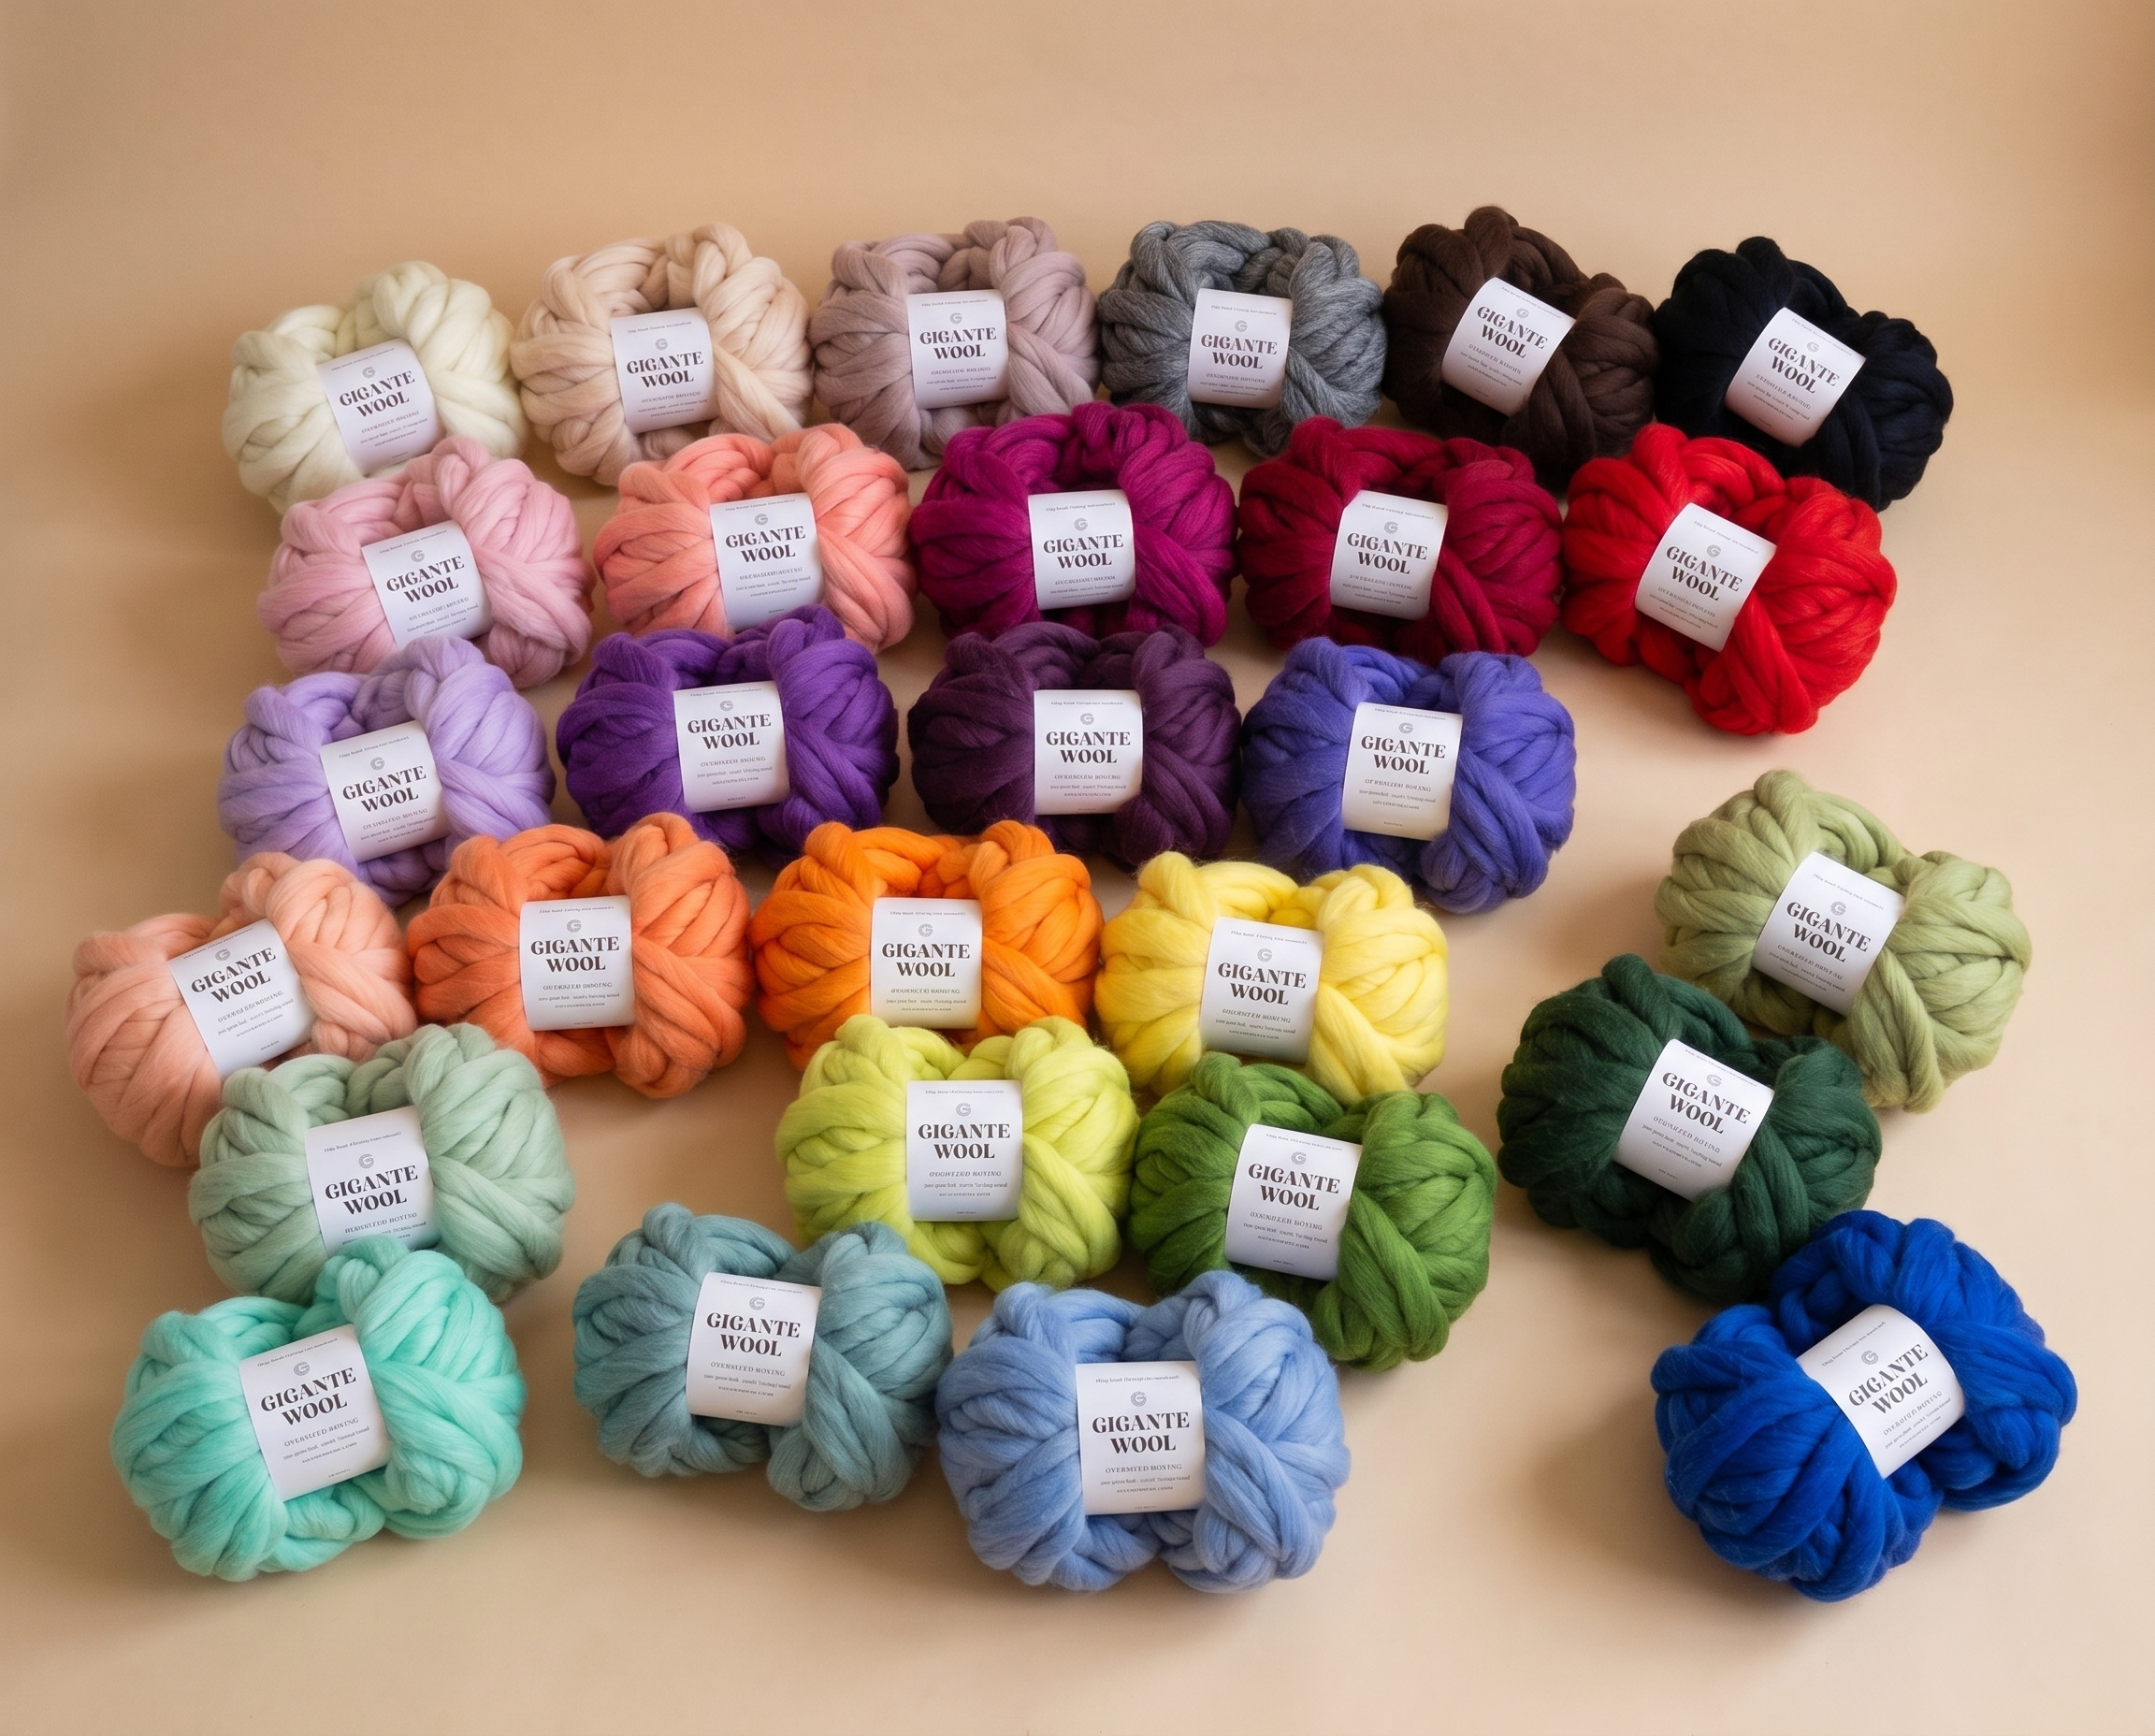
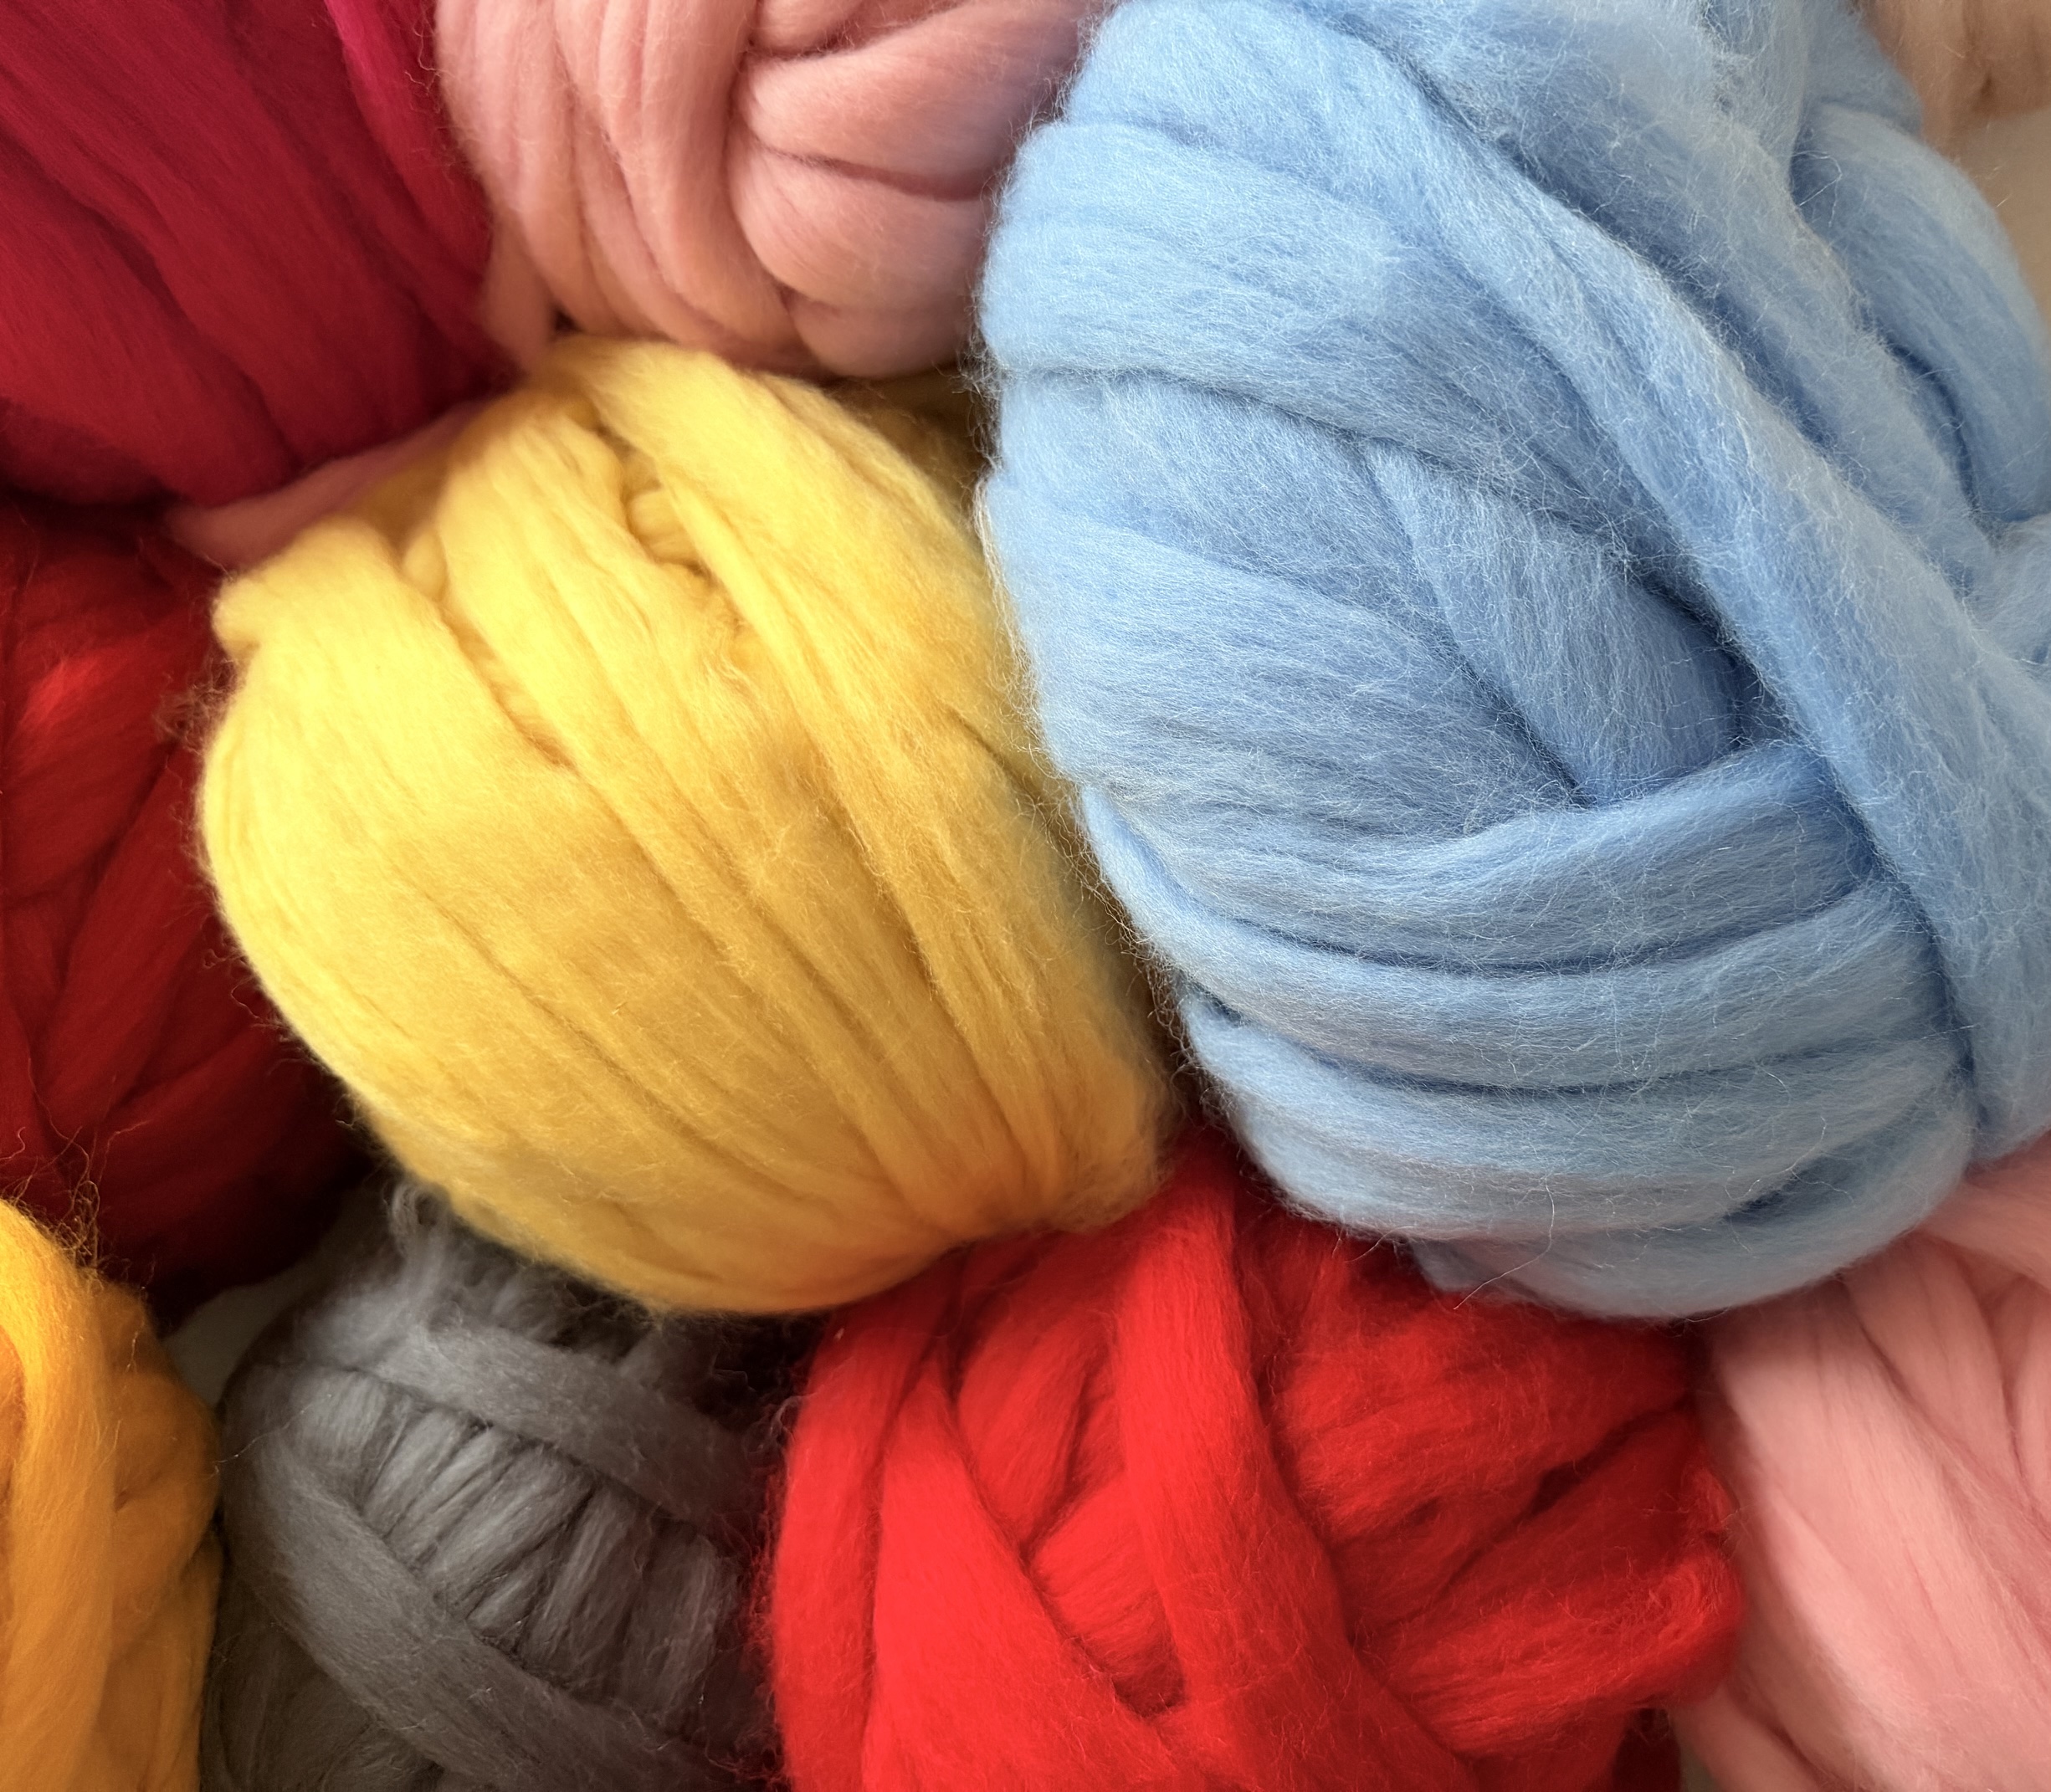
- Chunky wool. Our cardigans use thick, soft Corriedale roving, the kind that feels lovely just sitting in your lap. (Corriedale is its own wool, not merino; both are gorgeous, but they're different fibres.)
- Big needles, or your own two hands. Most people use oversized wooden needles, 25 mm. If you'd rather not bother with needles at all, you can finger-knit it; the wool is thick enough to loop over your hands. Both work beautifully.
- A pattern. This is the part that tells you exactly how many stitches to cast on for your size, and where to shape things later. Don't try to guess it. A good pattern does the maths so you can simply enjoy the making.
That's genuinely it: no stitch markers, no row counters, no special gadgets.
2. Cast on
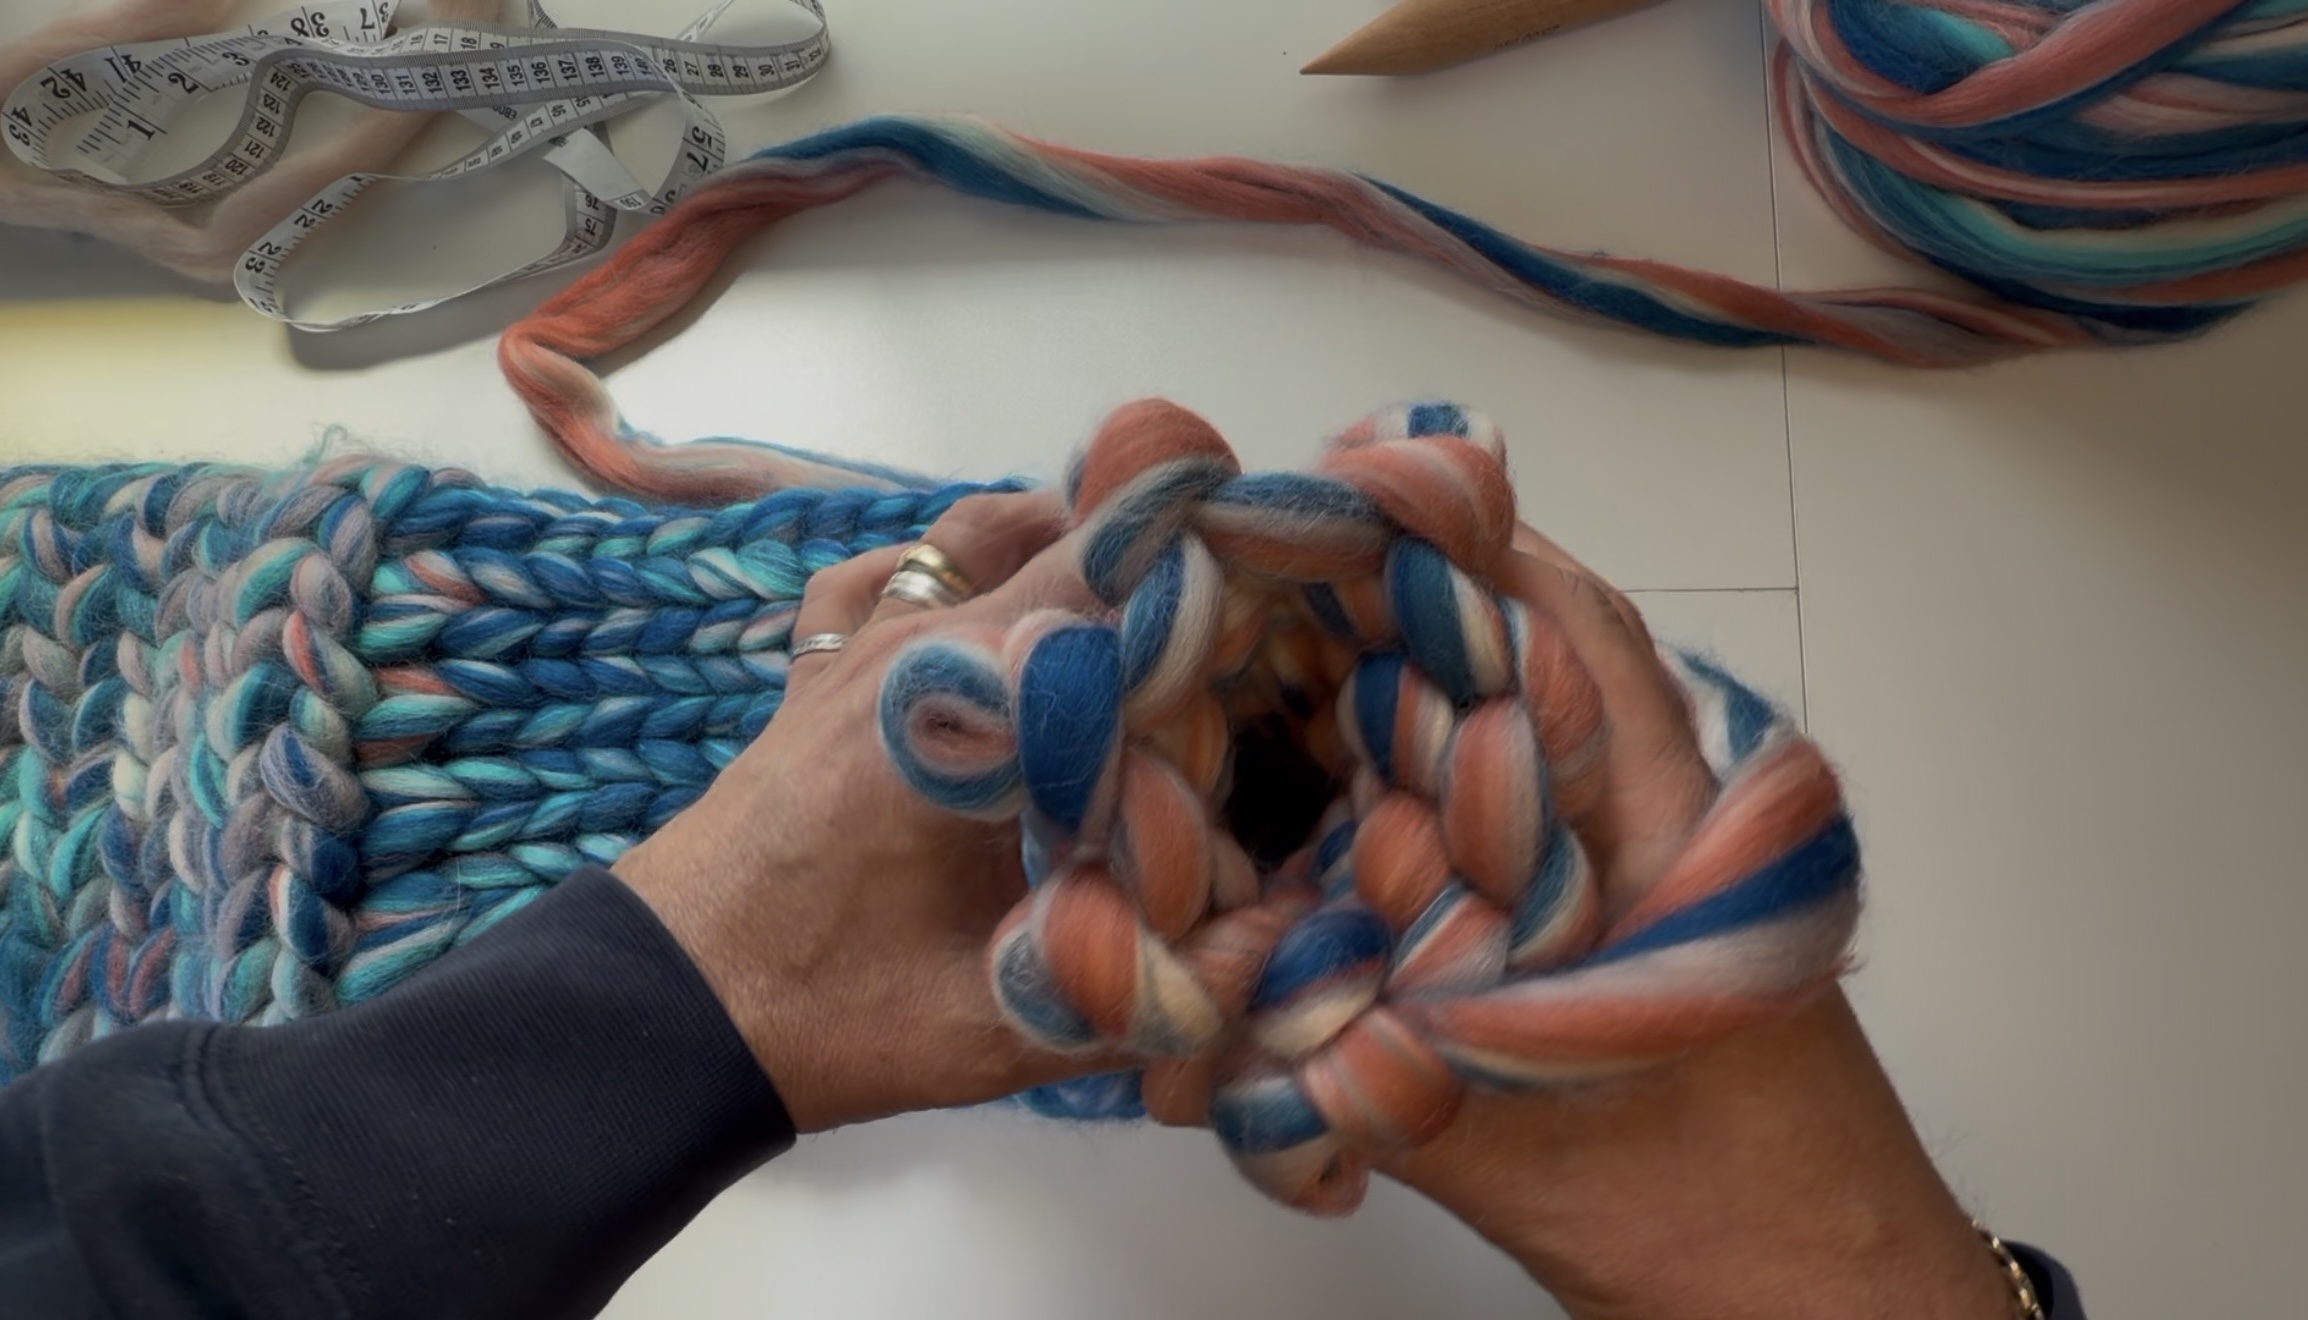
Casting on just means getting that first row of loops onto your needle (or your hand). Your pattern gives you the exact number for your size; count out that many loops and you're ready to go. It takes a few tries to find the rhythm, then it clicks. Our kits include knit-along video support, so you can watch this part happen and copy it at your own pace rather than puzzle over written instructions.
3. Knit the body in one simple stitch
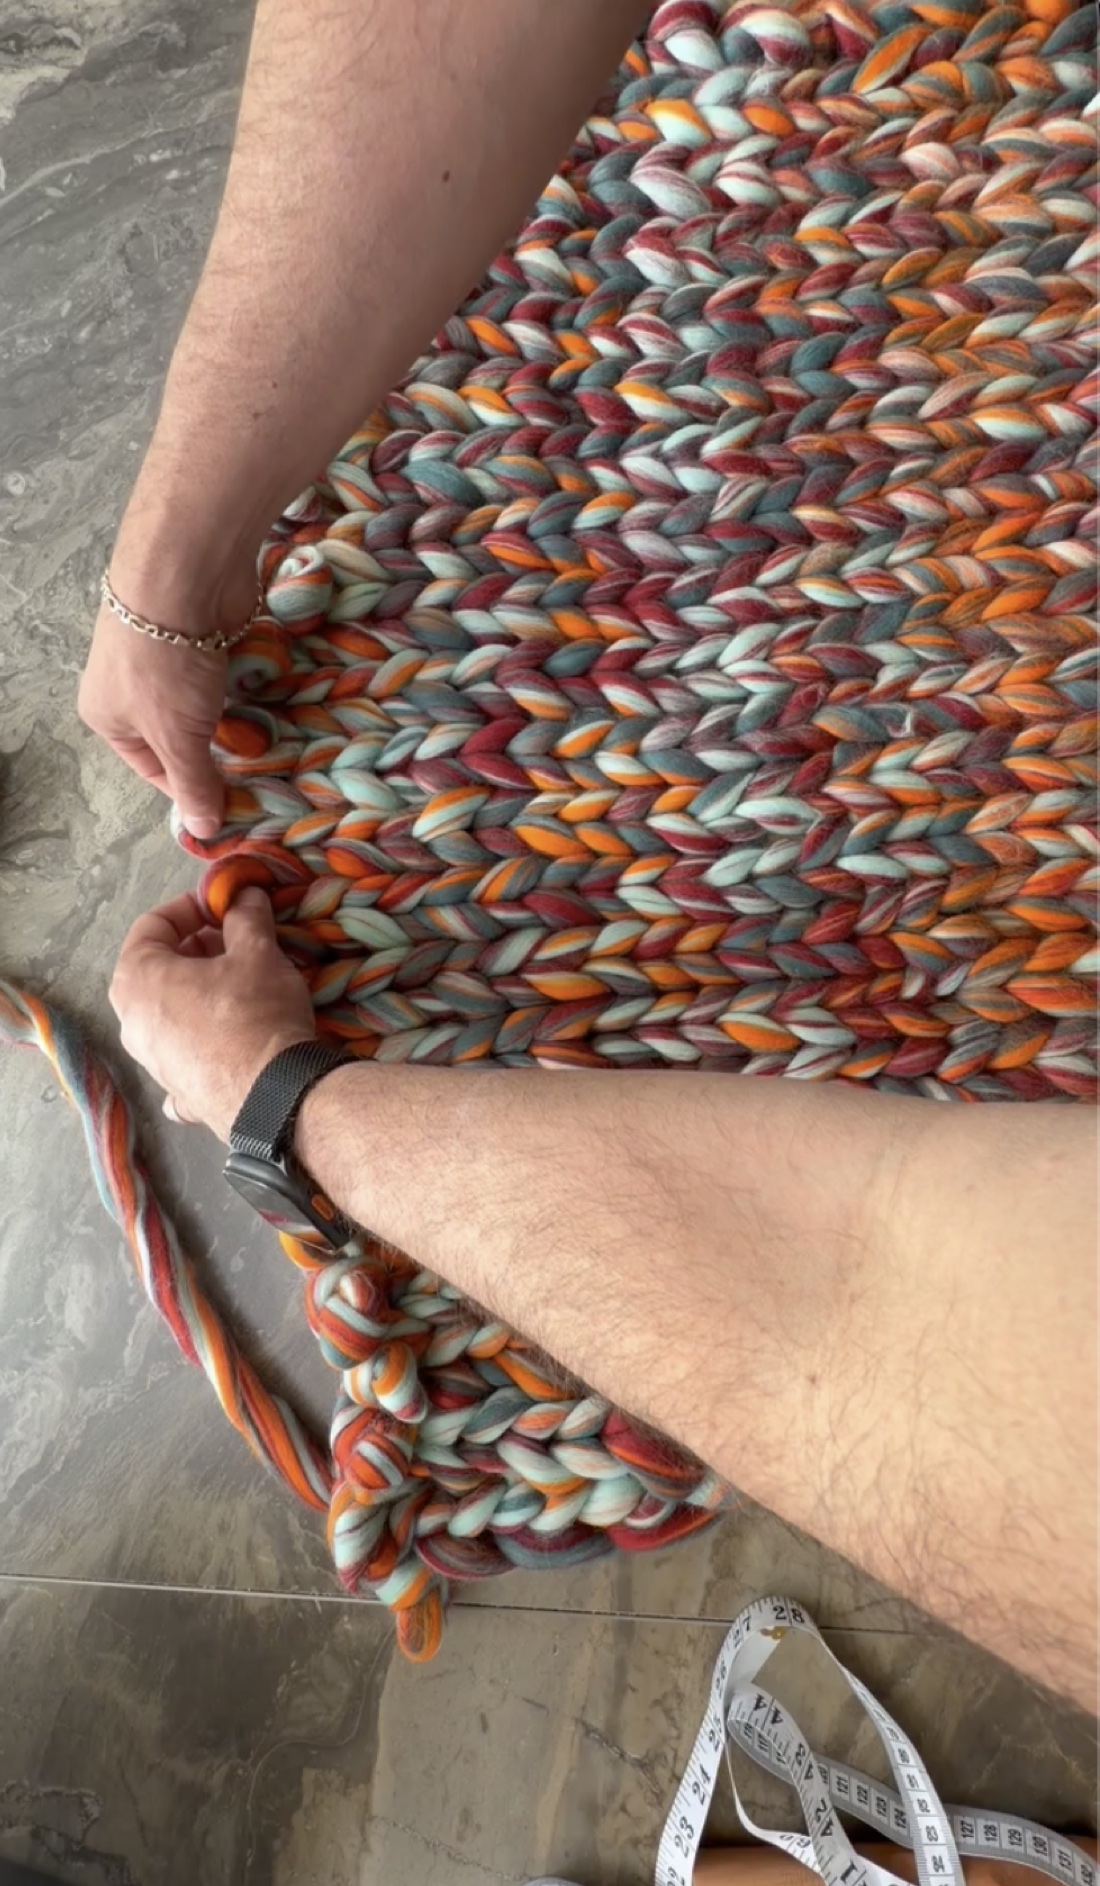
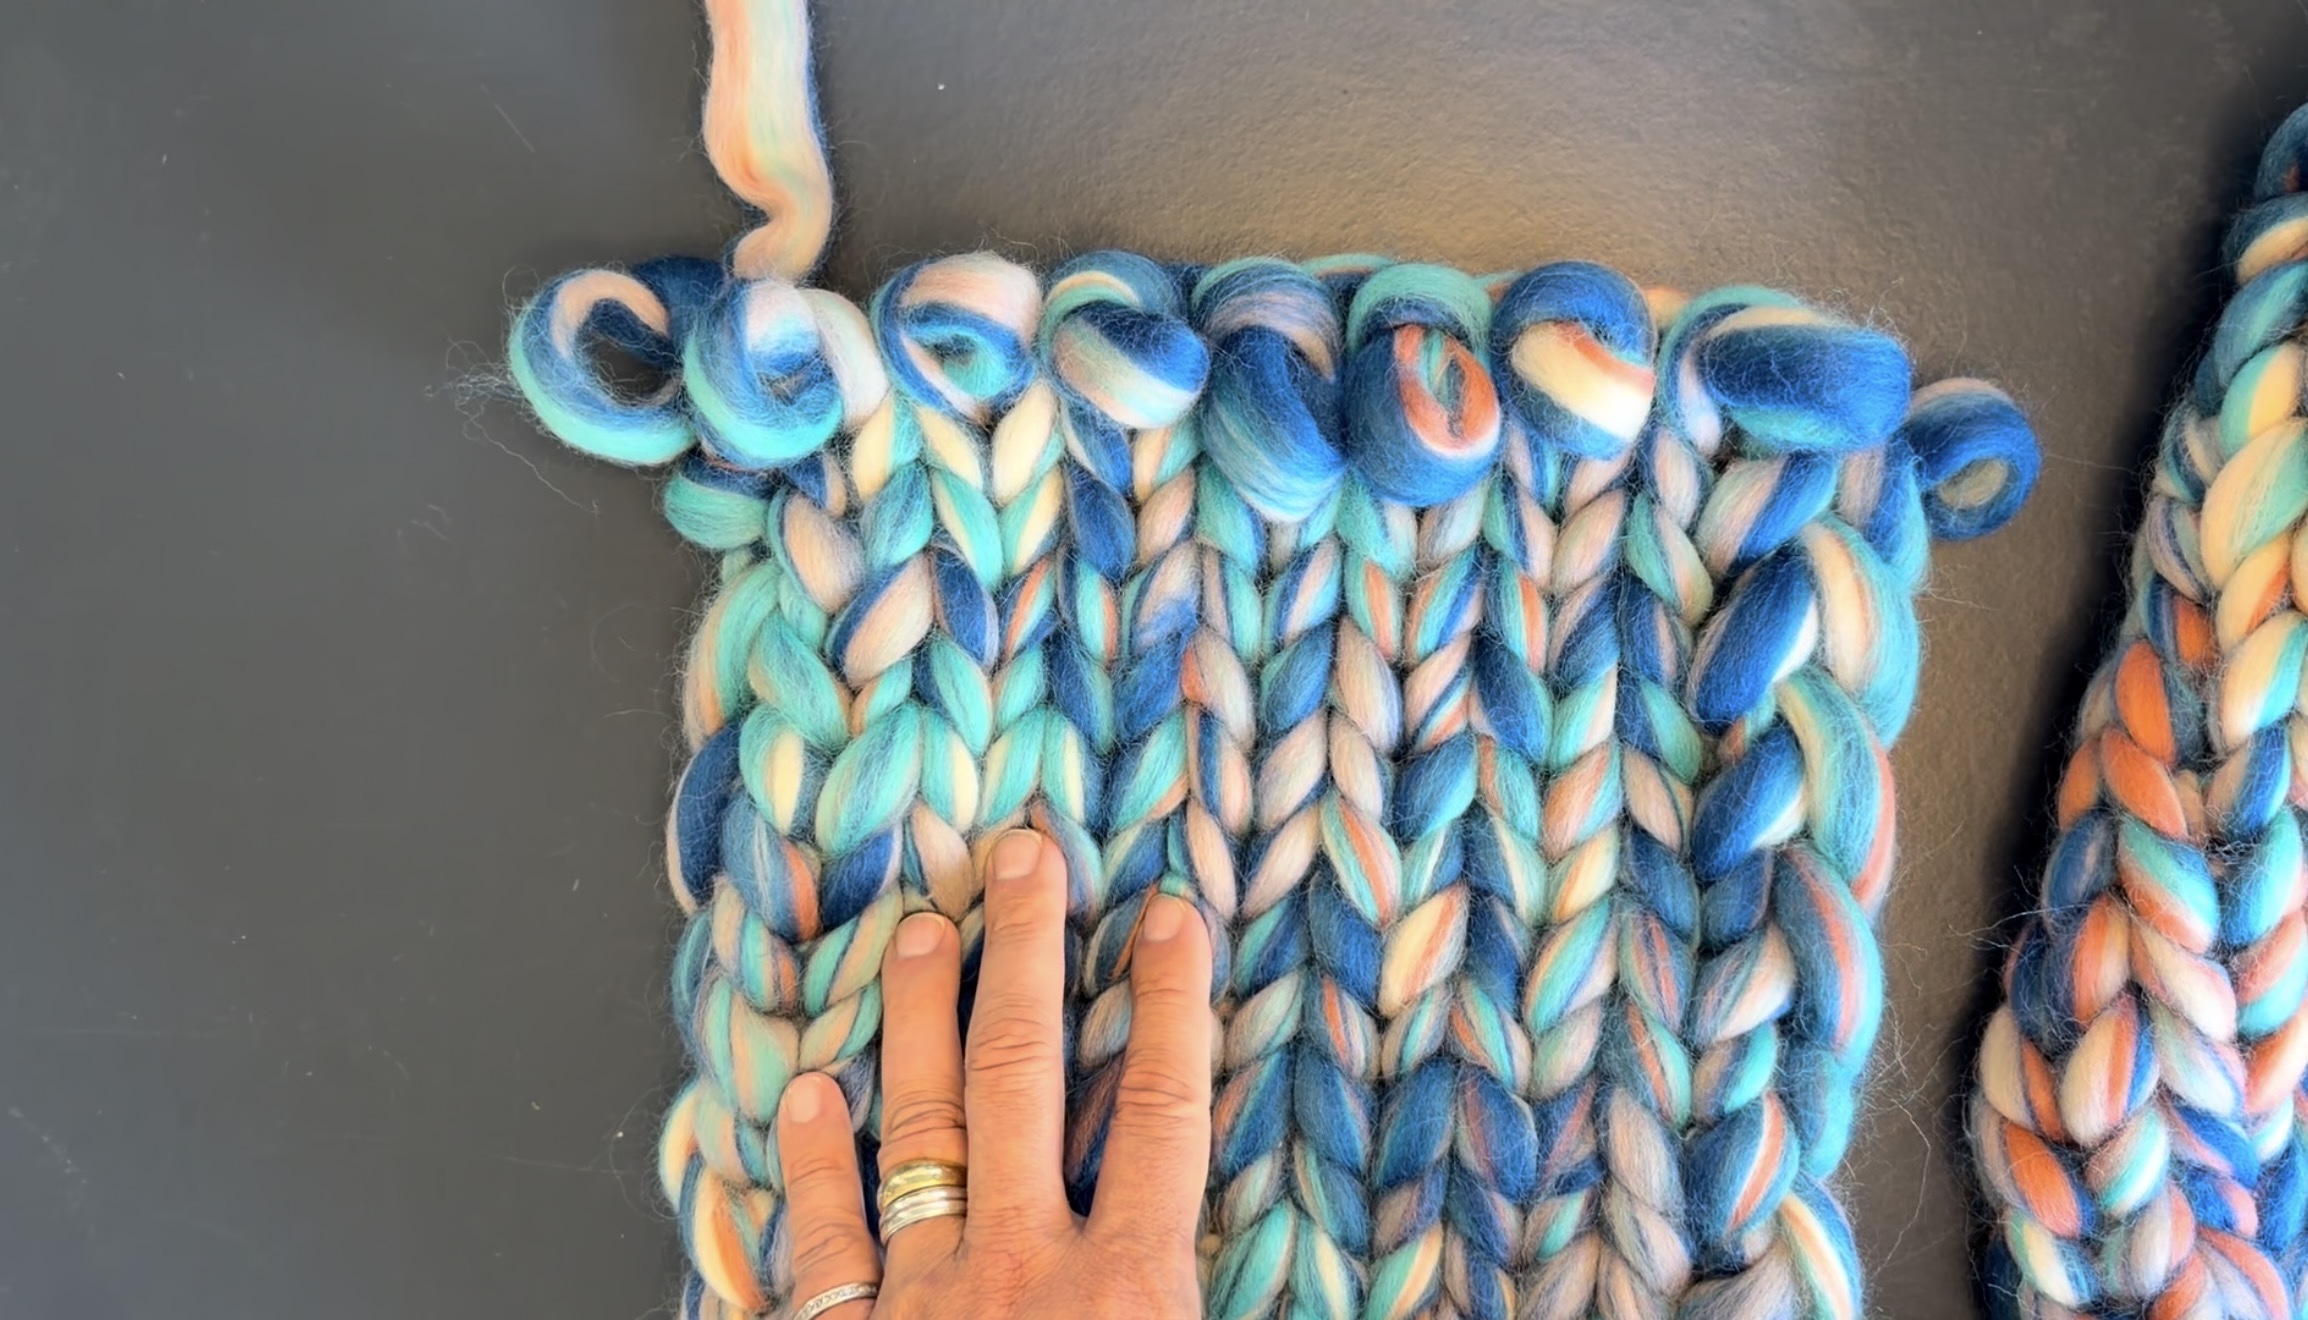
Now for the bit that surprises people most. A Gigante cardigan isn't a stack of separate panels. The body is one flat piece, and you knit it in the same single stitch the whole way through. It's plain stockinette: smooth on the front, bumpy on the back, no ribbing, no special edges, nothing to keep track of.
One stitch, the whole way. If you can repeat one comfortable motion, you can knit this cardigan.
You're not learning a dozen techniques. You're learning one, then settling into it, which is exactly why the rows build up so fast and the evenings slip by so pleasantly.
4. Shape the armholes and neck
"Shaping" sounds technical, but it just means making a panel a little narrower in the right spot, so the armholes curve in and the neckline opens up. Your pattern tells you precisely when and where: knit along as normal, then on the rows it points out, you'll work a couple of stitches together to bring the edge in. You don't have to understand the geometry; just do what the line in front of you says, and the shape appears on its own.
5. Fold and assemble (there are no shoulder seams)
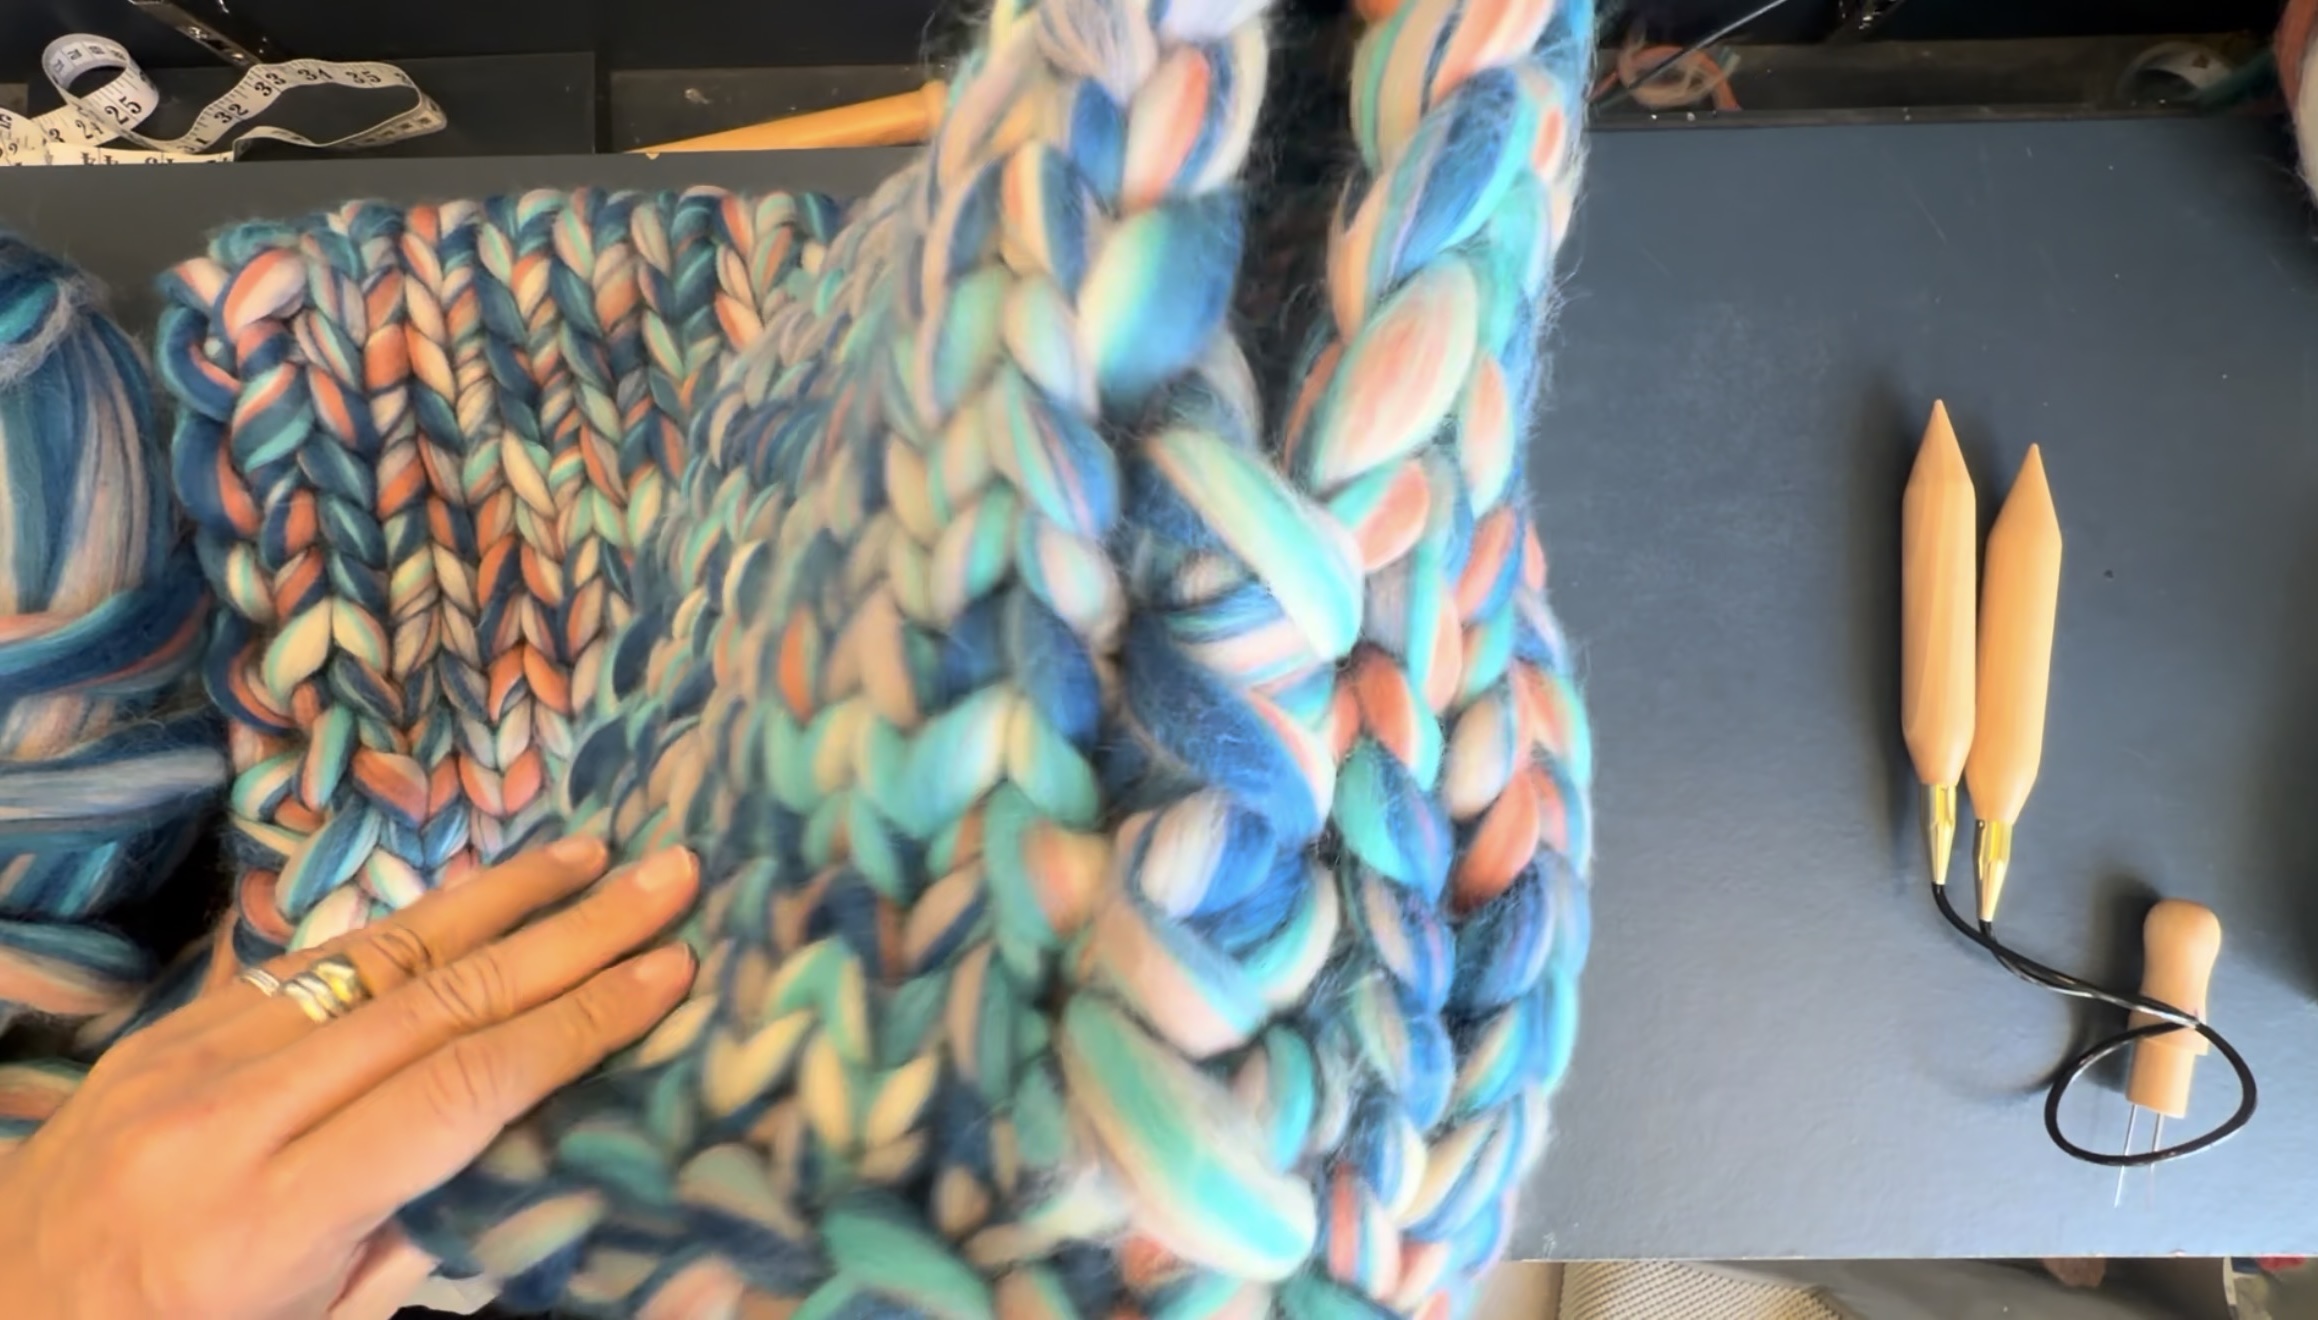
This is where understanding the construction really pays off. A Gigante cardigan has no shoulder seams to sew. The body is one flat piece shaped like a big U, and the fronts simply fold over to form the shoulders and the base of the garment. From there you join the sides with a length of the same wool, and the sleeves are picked up straight from the armhole edge and worked on (I get into that in knitting chunky balloon sleeves). Knowing how the piece folds, and where all that weight wants to sit, is exactly what turns a finished cardigan from “fine” into one you're proud to wear.
6. Weave in the ends
Every place you started or finished a length of wool leaves a loose tail. Tidying those away is called weaving in the ends, and there's one important thing to know: with wool this thick, you use a felting needle, never an ordinary sewing or tapestry needle. The roving is far too chunky to thread through a normal eye; a felting needle simply tucks and tangles the tail back into the fabric so it stays put. A minute or two per tail and you're done.
And that's it. Gather, cast on, knit your panels, shape where the pattern says, sew up, weave in. Six steps and a cardigan that's entirely yours.
You won't be doing it alone
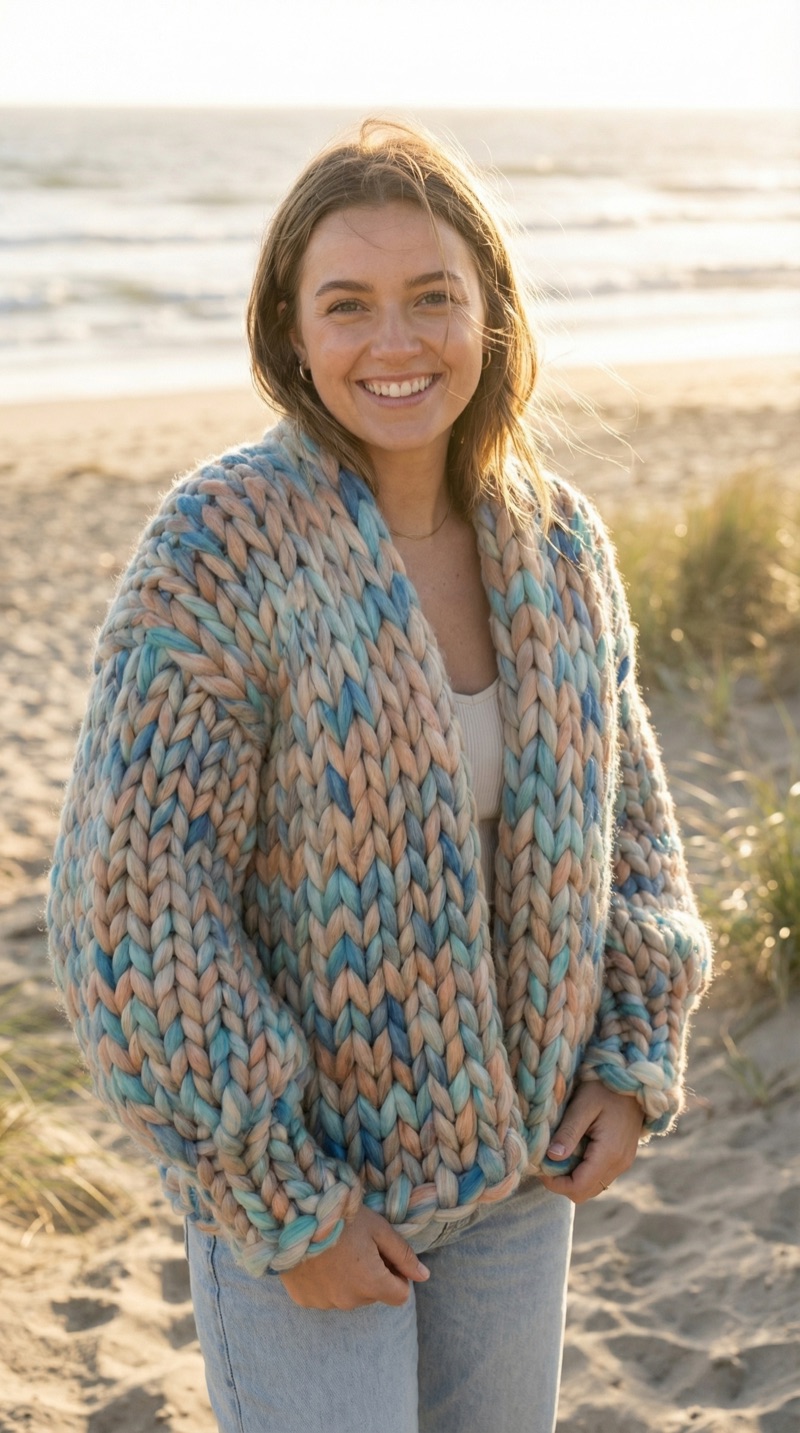
Every Gigante kit and pattern walks you through these steps in order, with the numbers worked out for your chosen size, so you're never left guessing. And if you'd like to see it rather than read it, the Starter Kit comes with a knit-along video you can follow alongside, pausing whenever you need to. Pick whichever feels most like you:
Take it slowly and enjoy the rhythm. Chunky wool is forgiving of the small stuff, but do be honest with yourself about consistency, because at this scale uneven stitches read as messy, not artisan. Keep your tension even, get a feel for how the piece comes together, and you'll end up with something that looks as considered as it is handmade. Then make something Gigante.
Keep reading
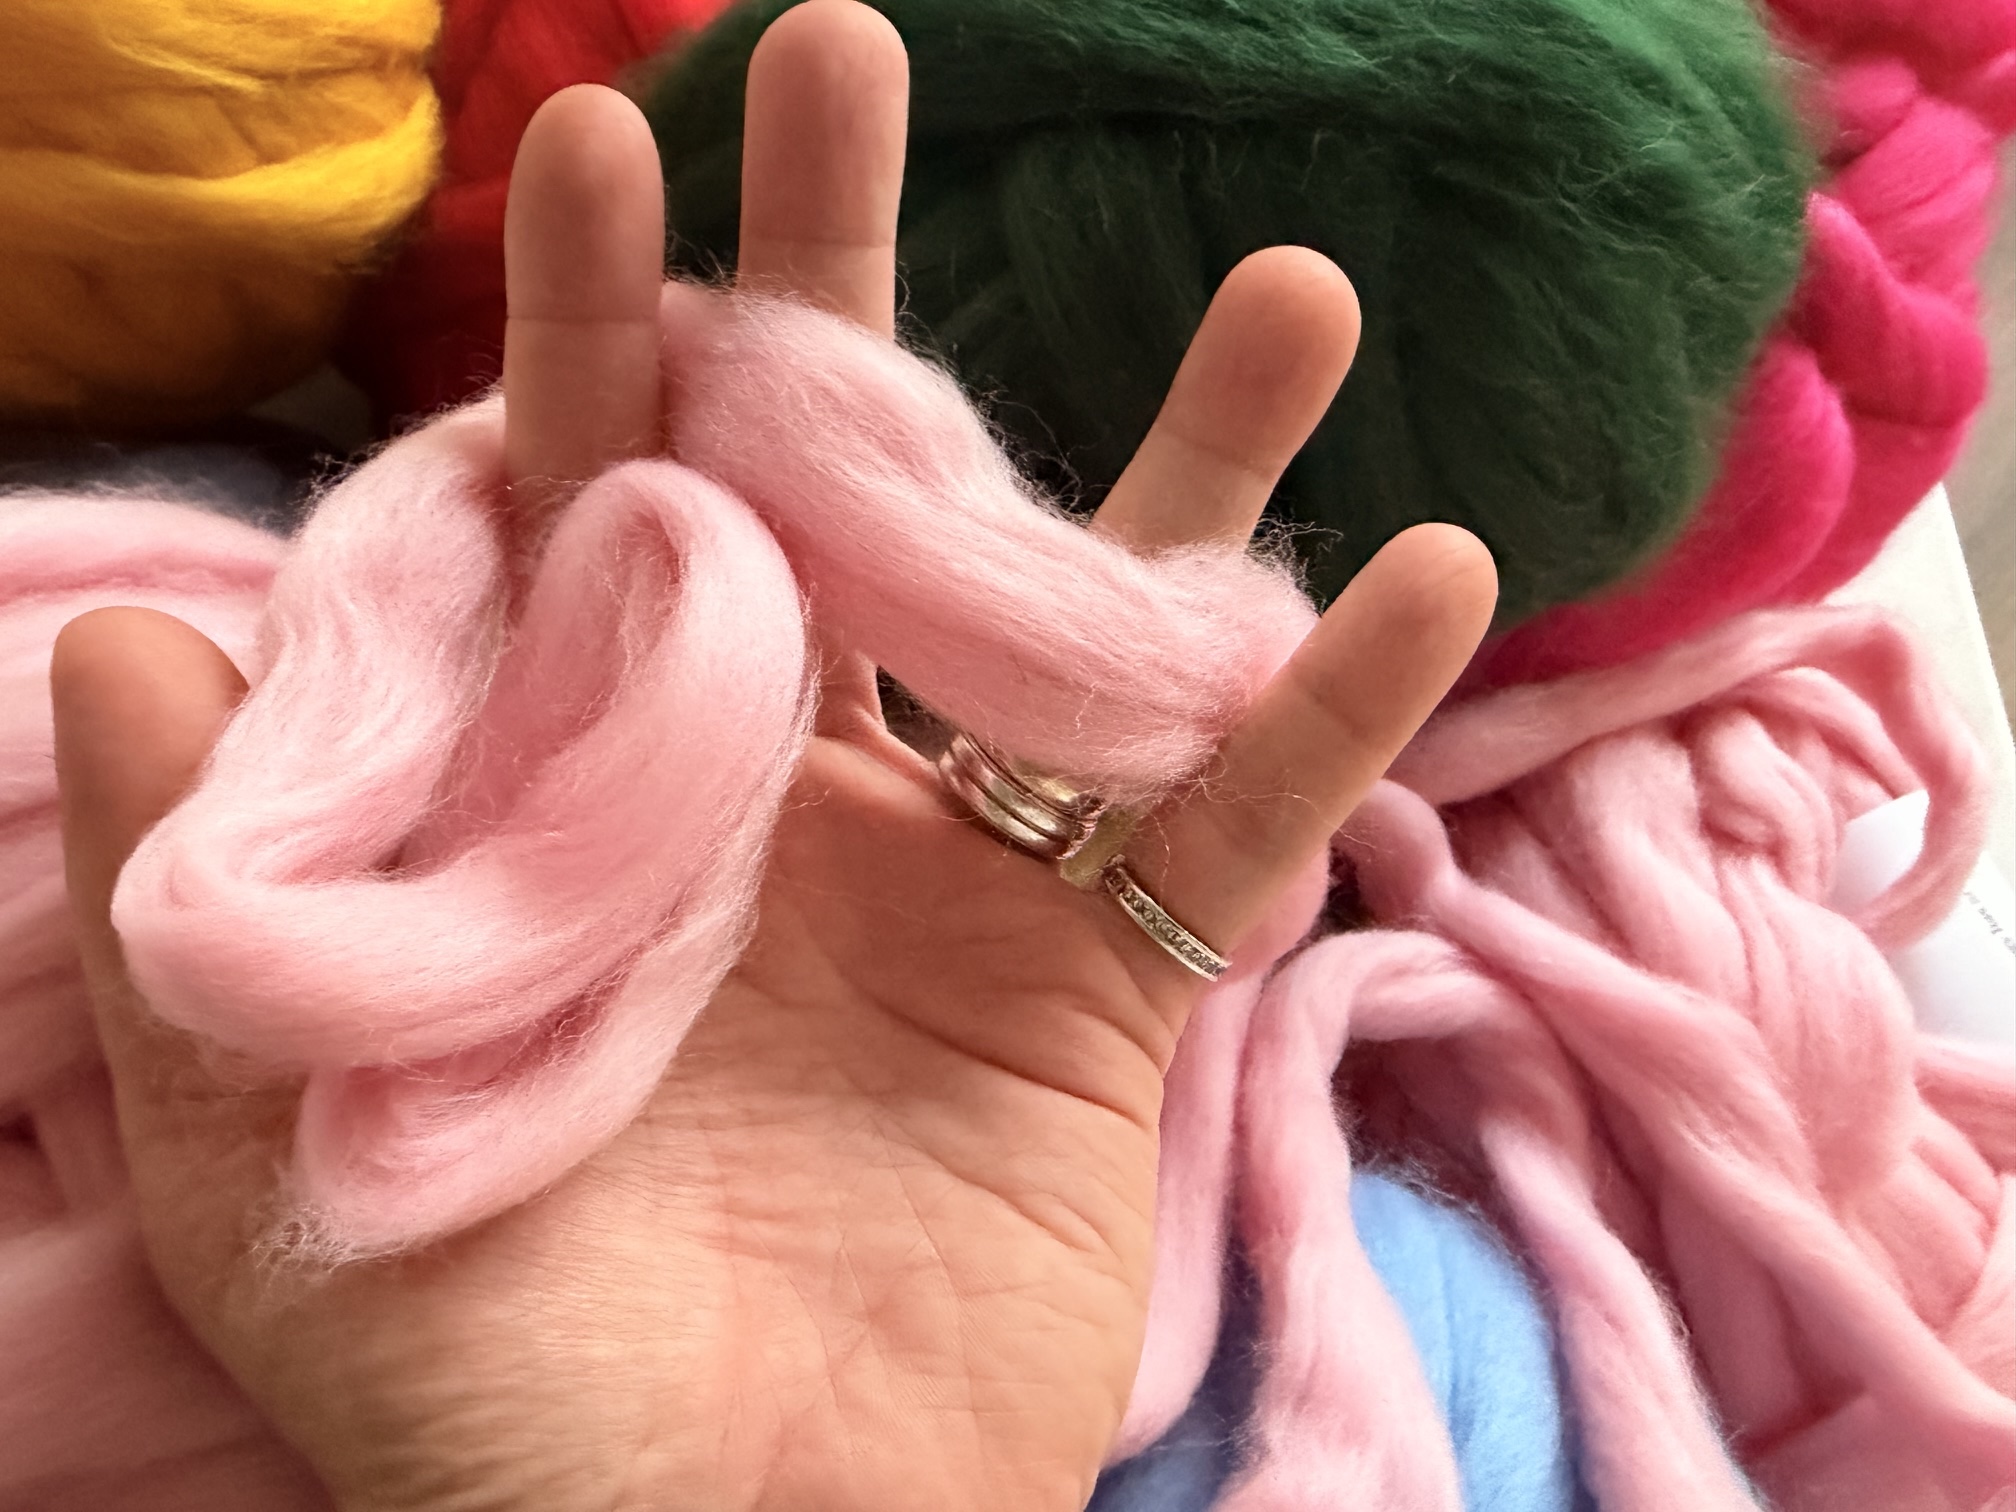
The Real Reason Everyone’s Suddenly Obsessed With Chunky Knitting
Oversized stitches, cloud-soft wool and a slower rhythm that feels like calm.
Read it next →